Add a deck to the table
Open the table you created in Tutorial 1, or start a new play session from any game.
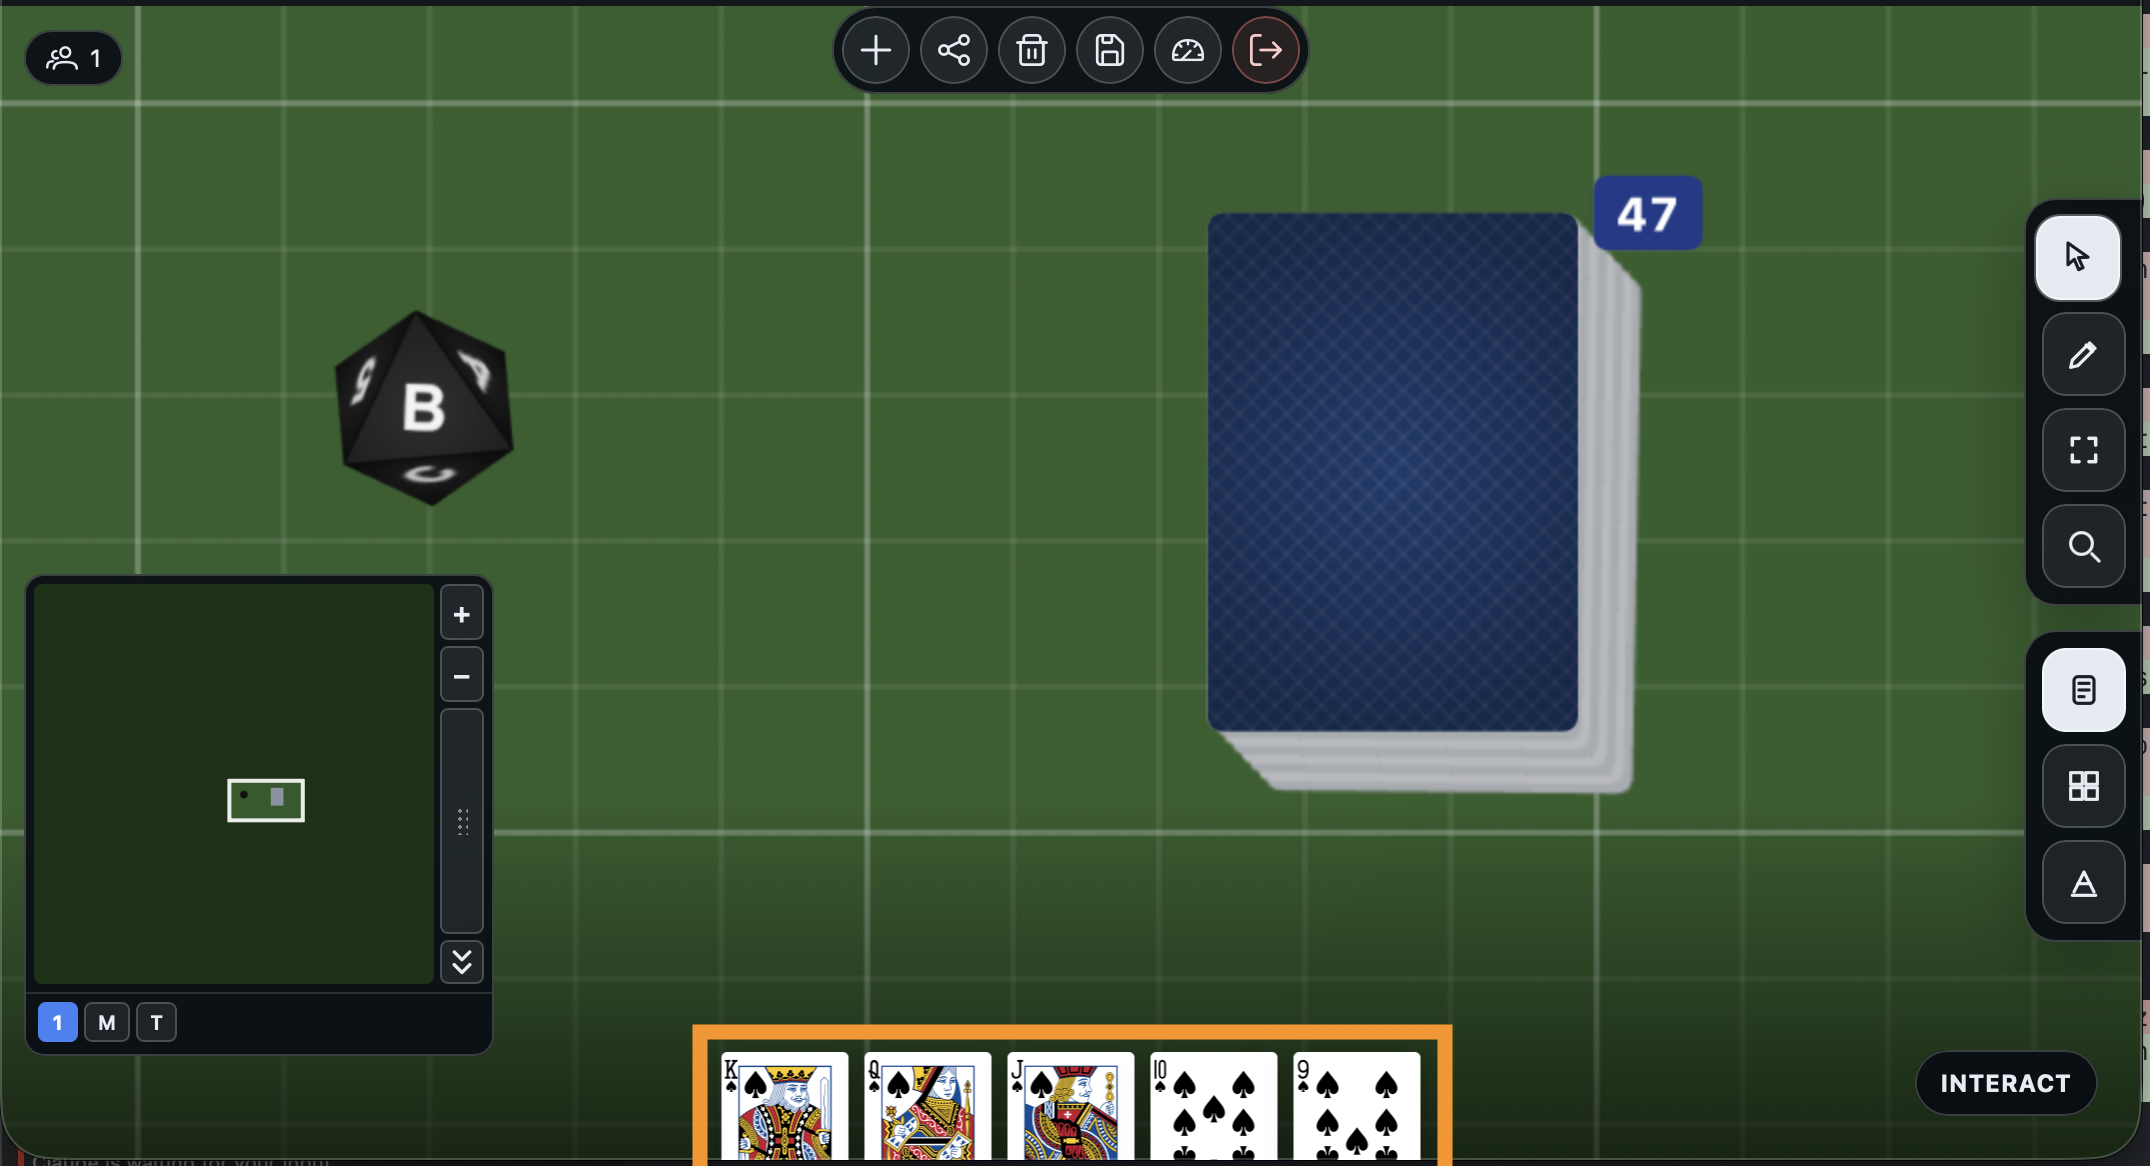
Click the + button in the toolbar to open the Add Entities panel. Scroll down to the Cards and Tiles section and click Standard Playing Cards. This adds a full 52-card deck to the table.
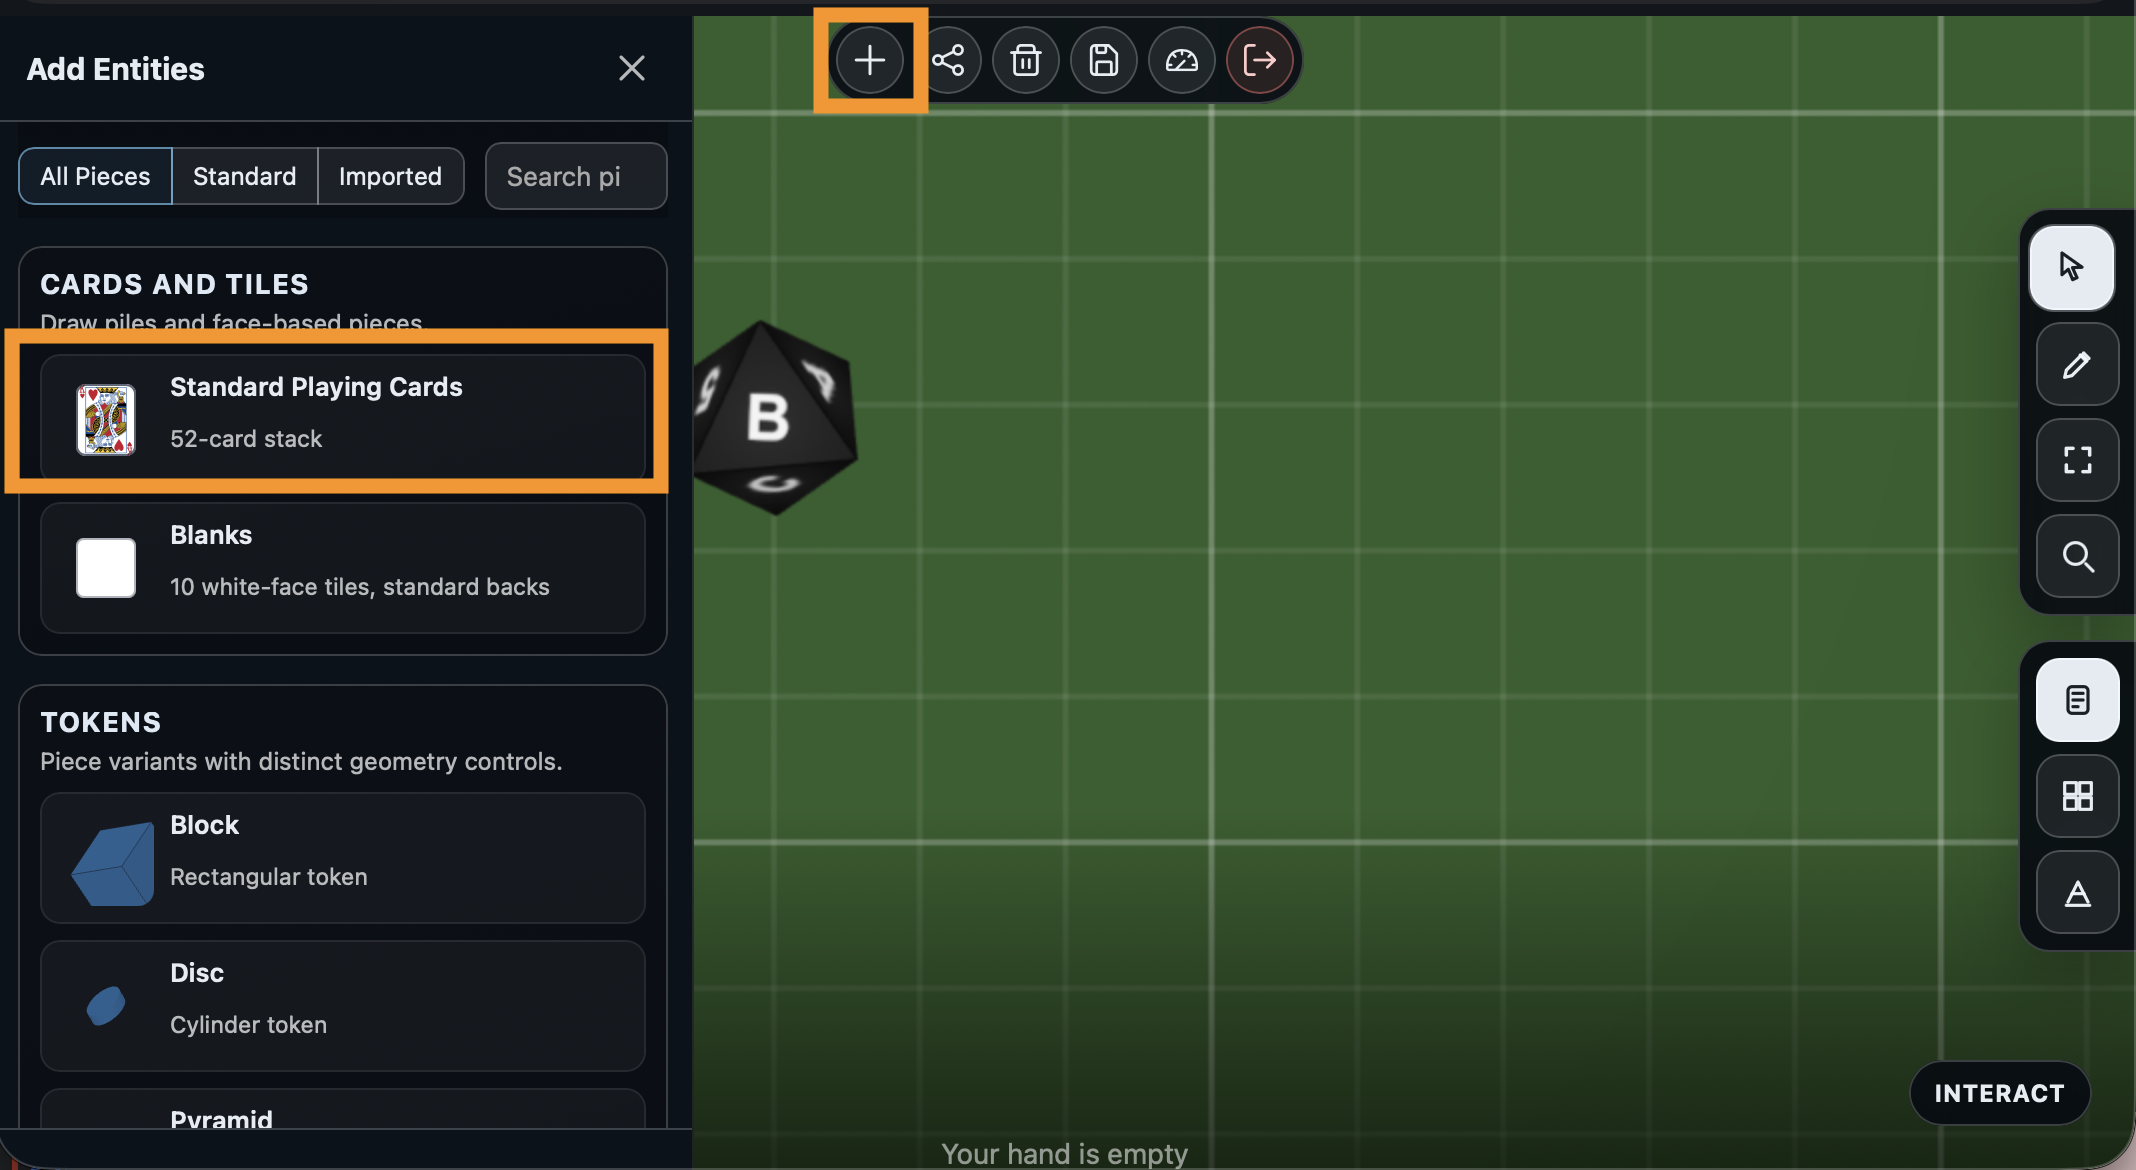
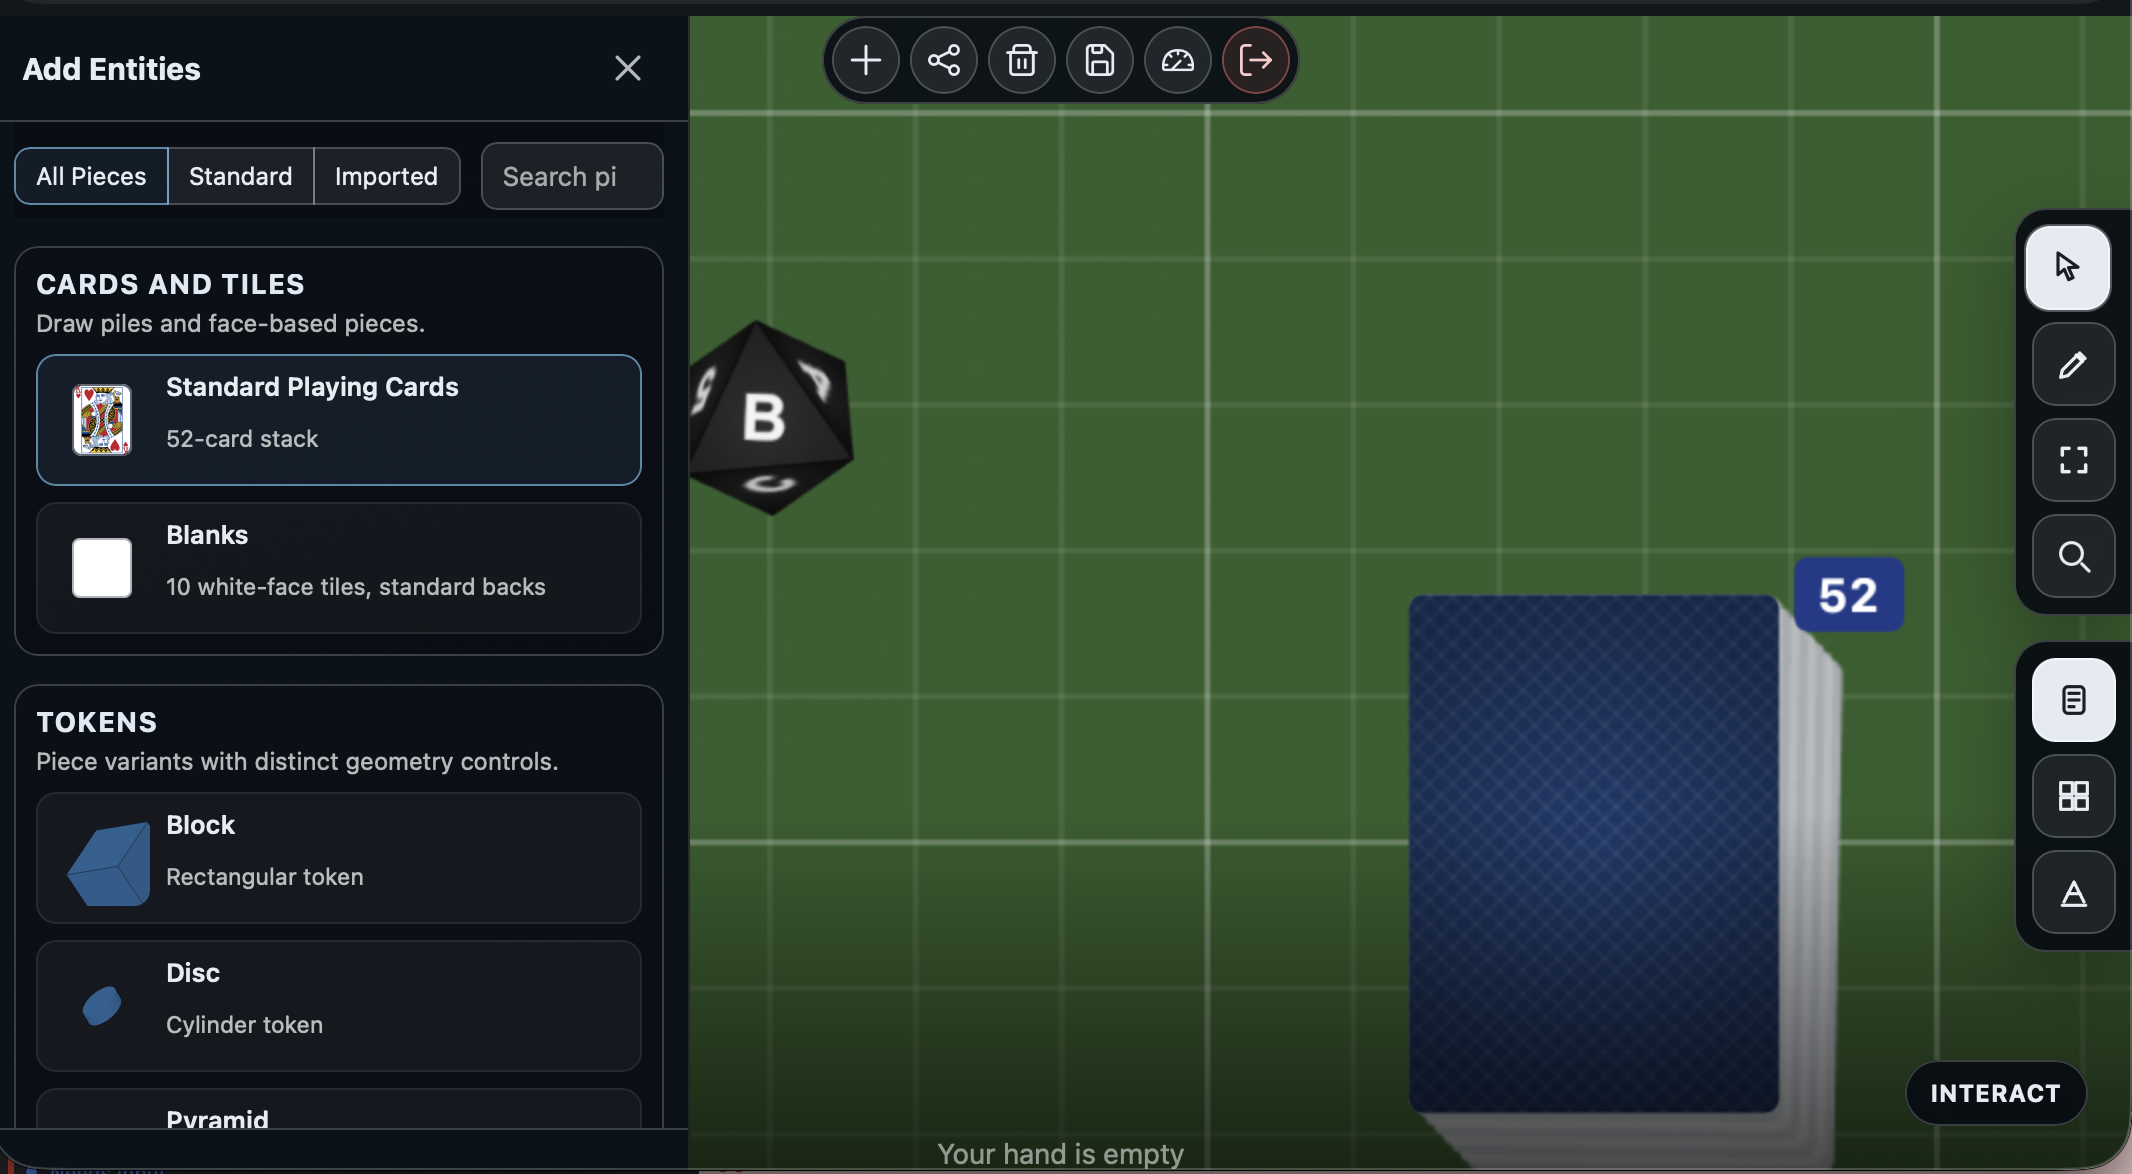
A face-down deck appears on your table with a card count badge.
Draw a card
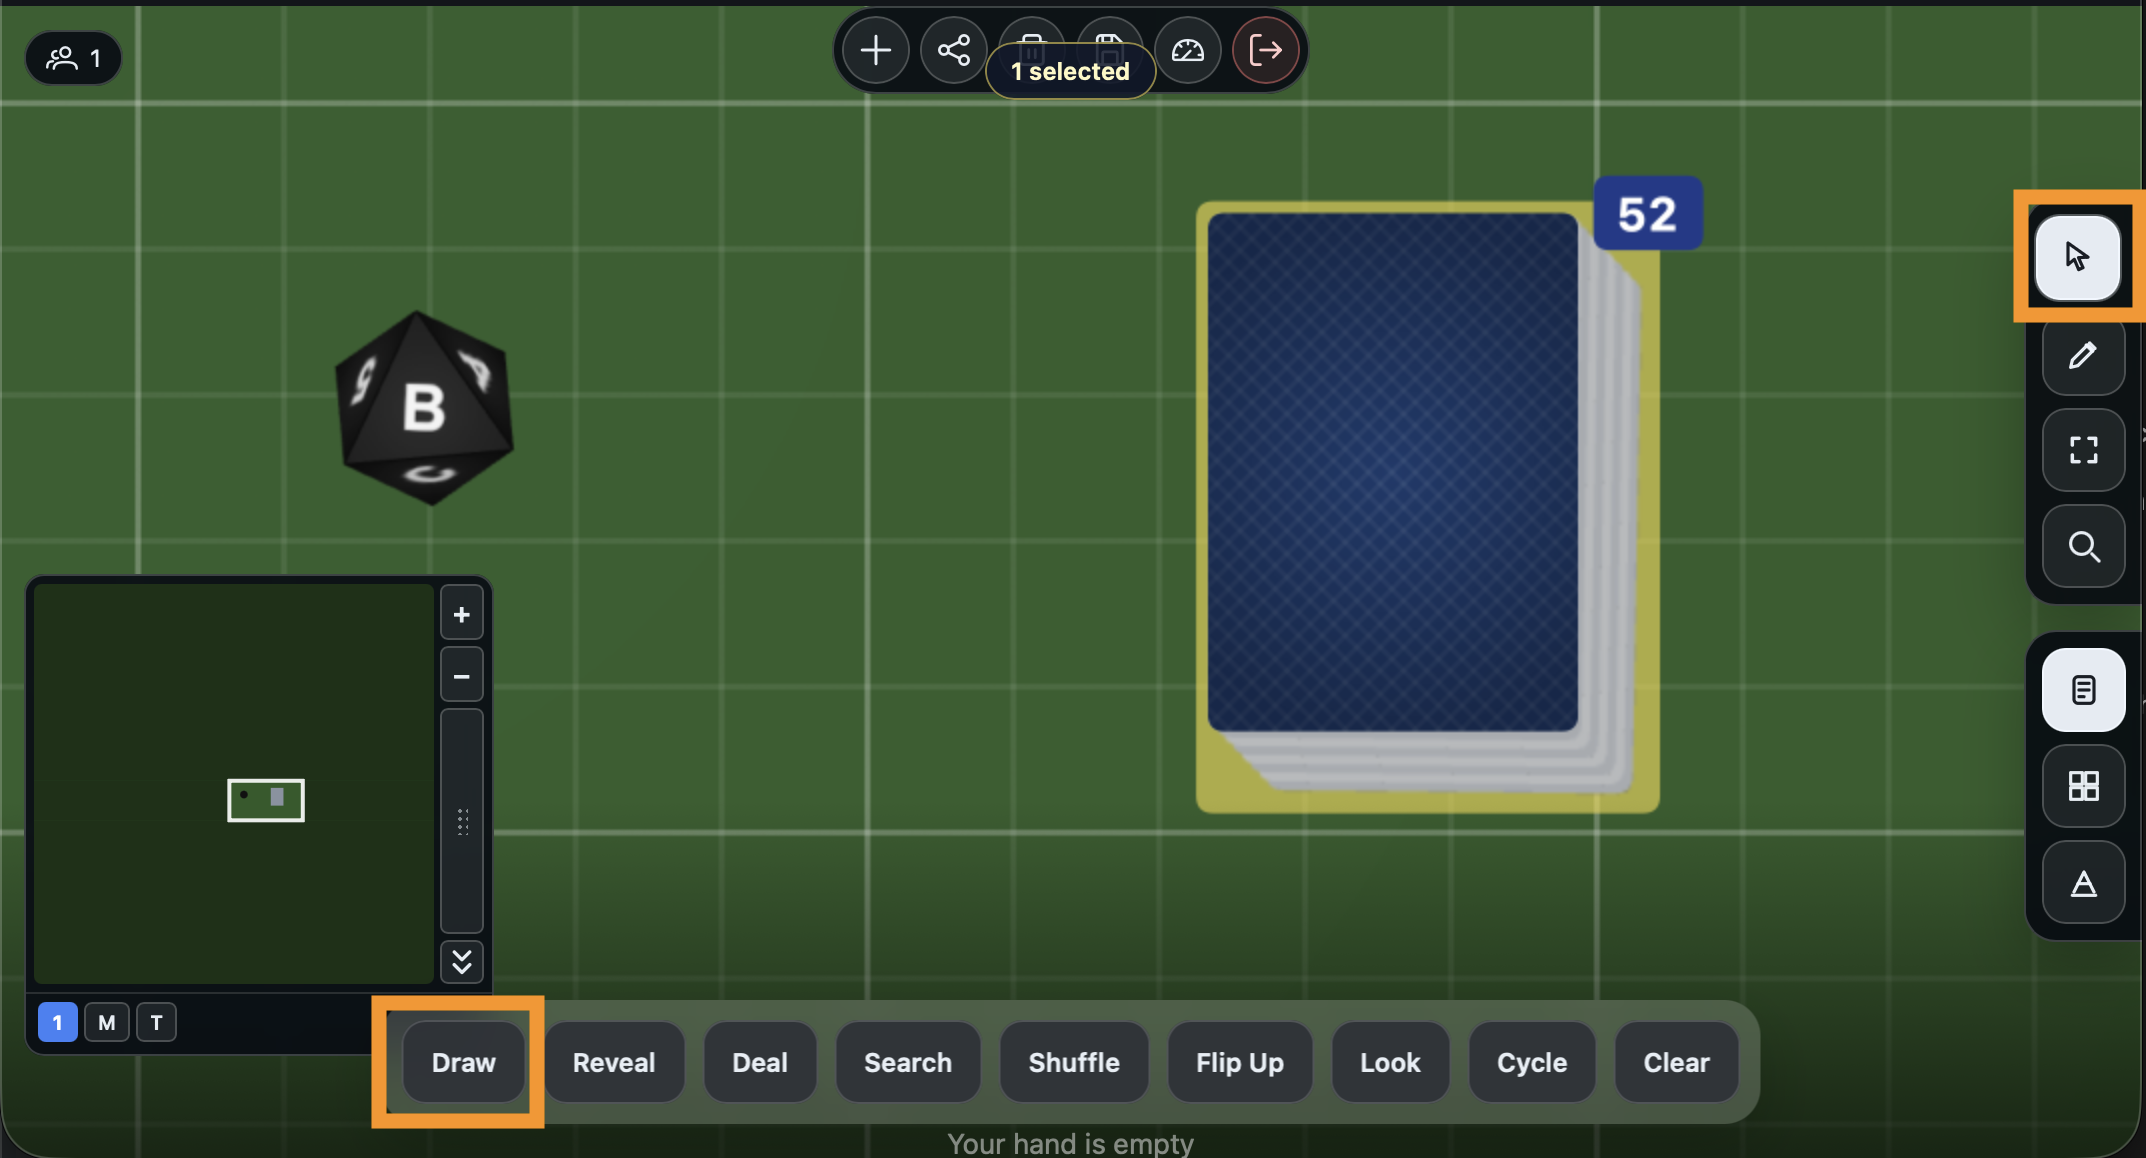
Select the Interact tool in the right-side toolbar (the cursor icon). Click the deck on the table. The Actions Dock appears at the bottom with all the deck interactions.
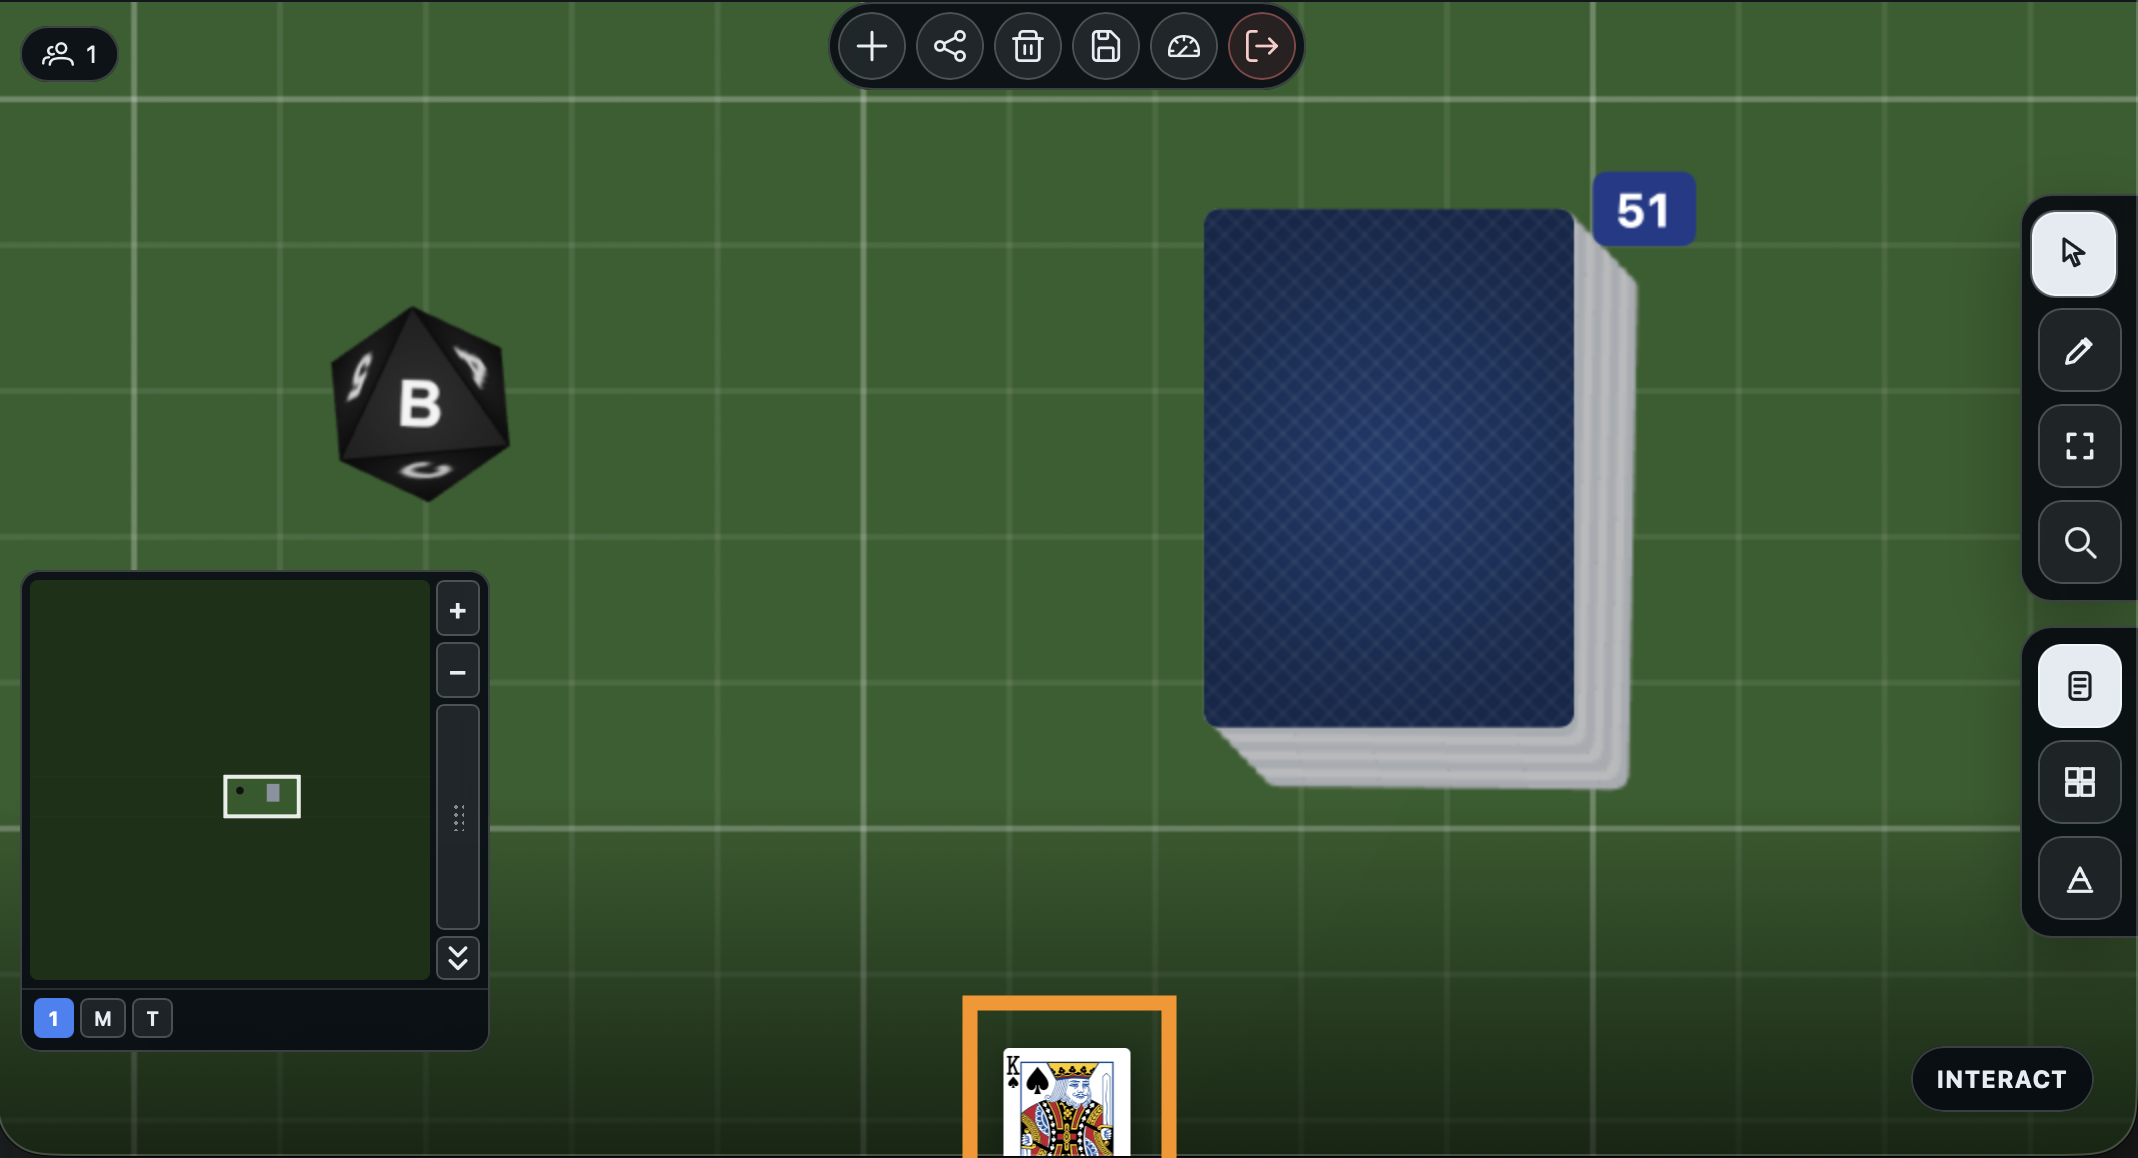
Click Draw. The top card lifts off the deck and goes into your hand at the bottom of the screen.
Cards in your hand are visible only to you. Other players in a multiplayer session cannot see them.
Draw a few more cards to build up a hand.
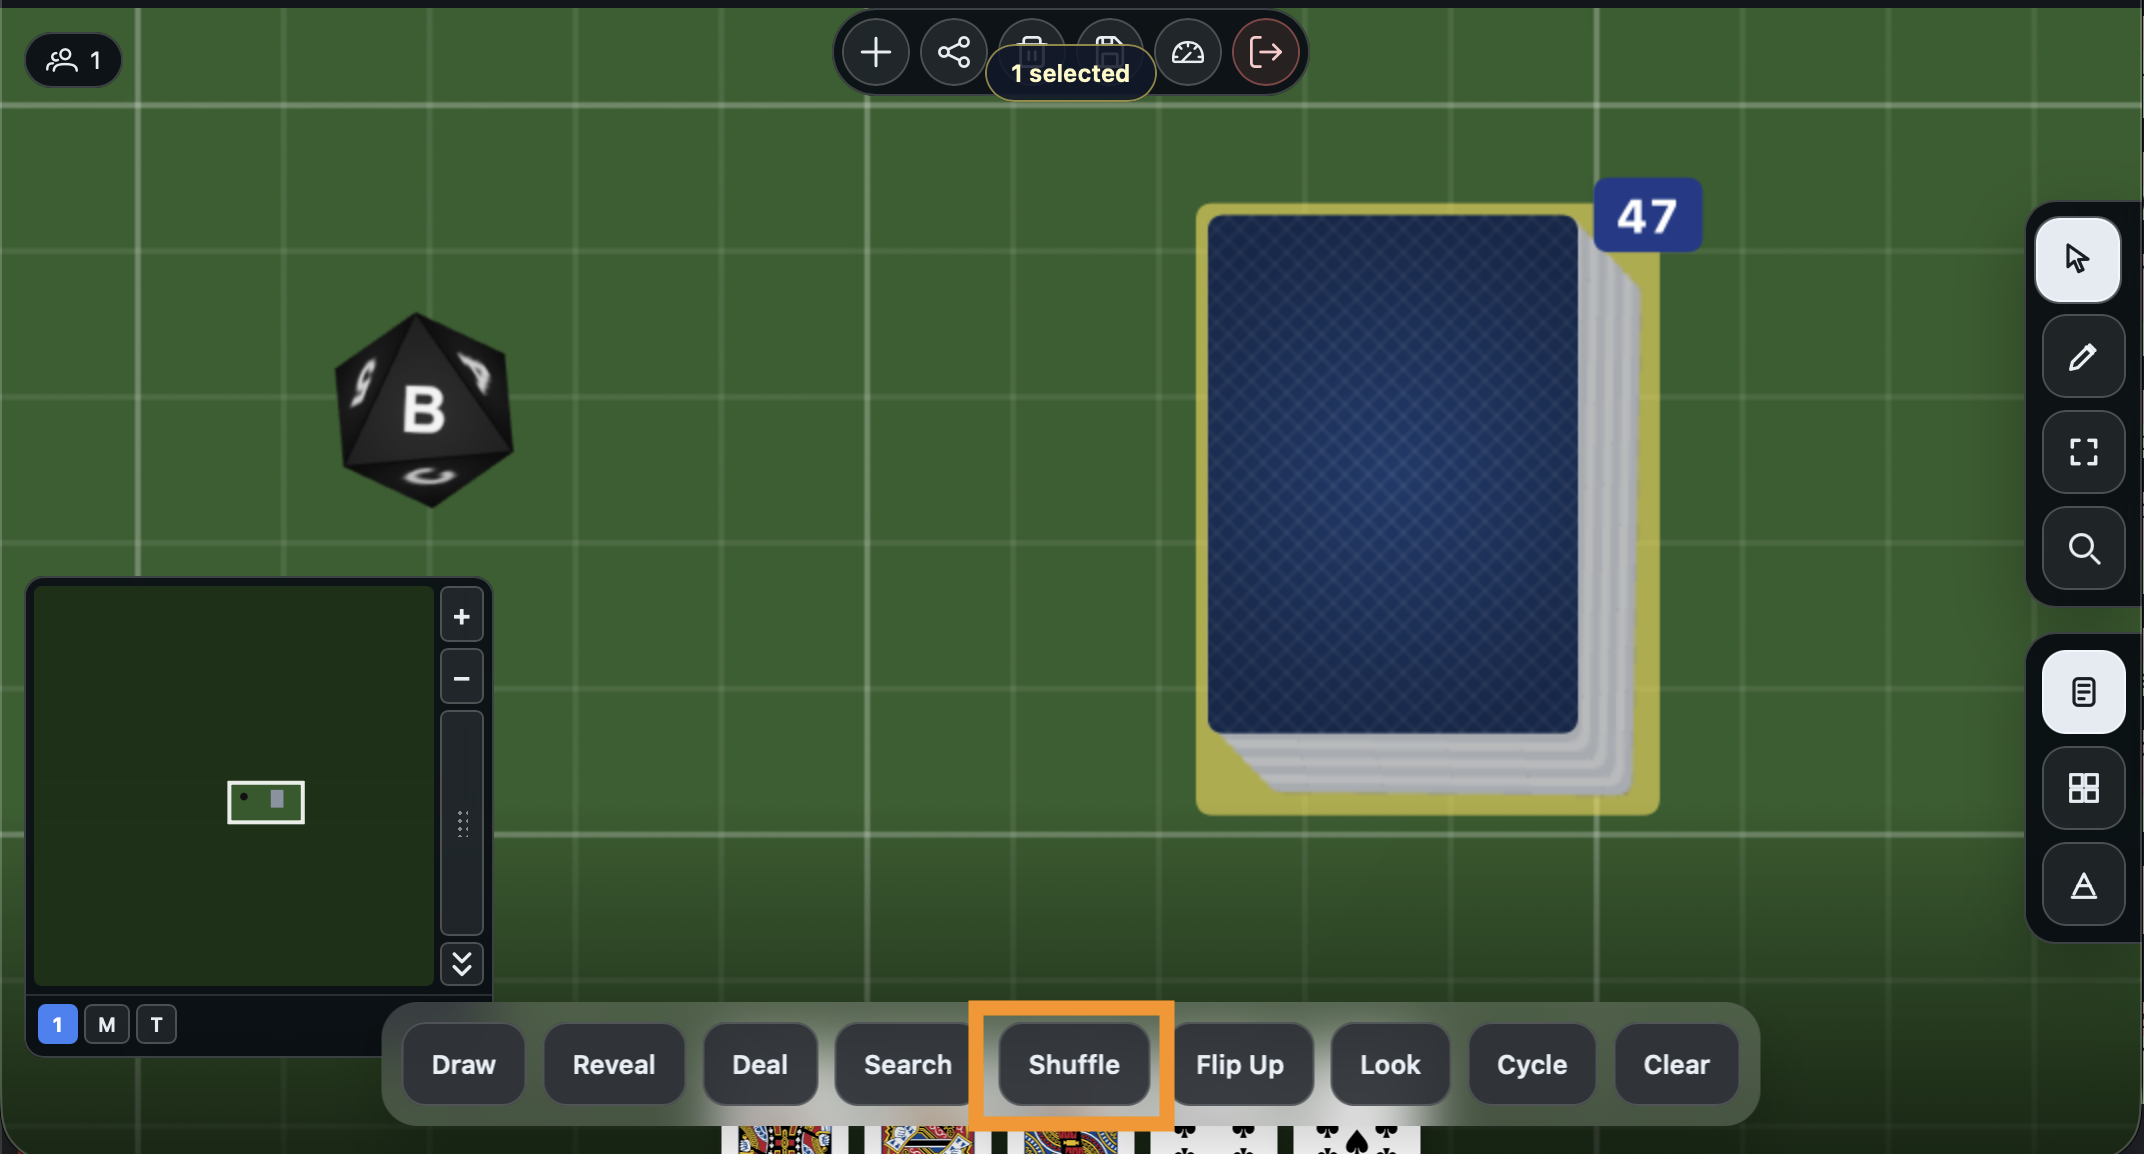
Shuffle the deck
With the deck selected, click Shuffle in the Actions Dock. The card order is randomized instantly and the result is hidden, just like a real deck.
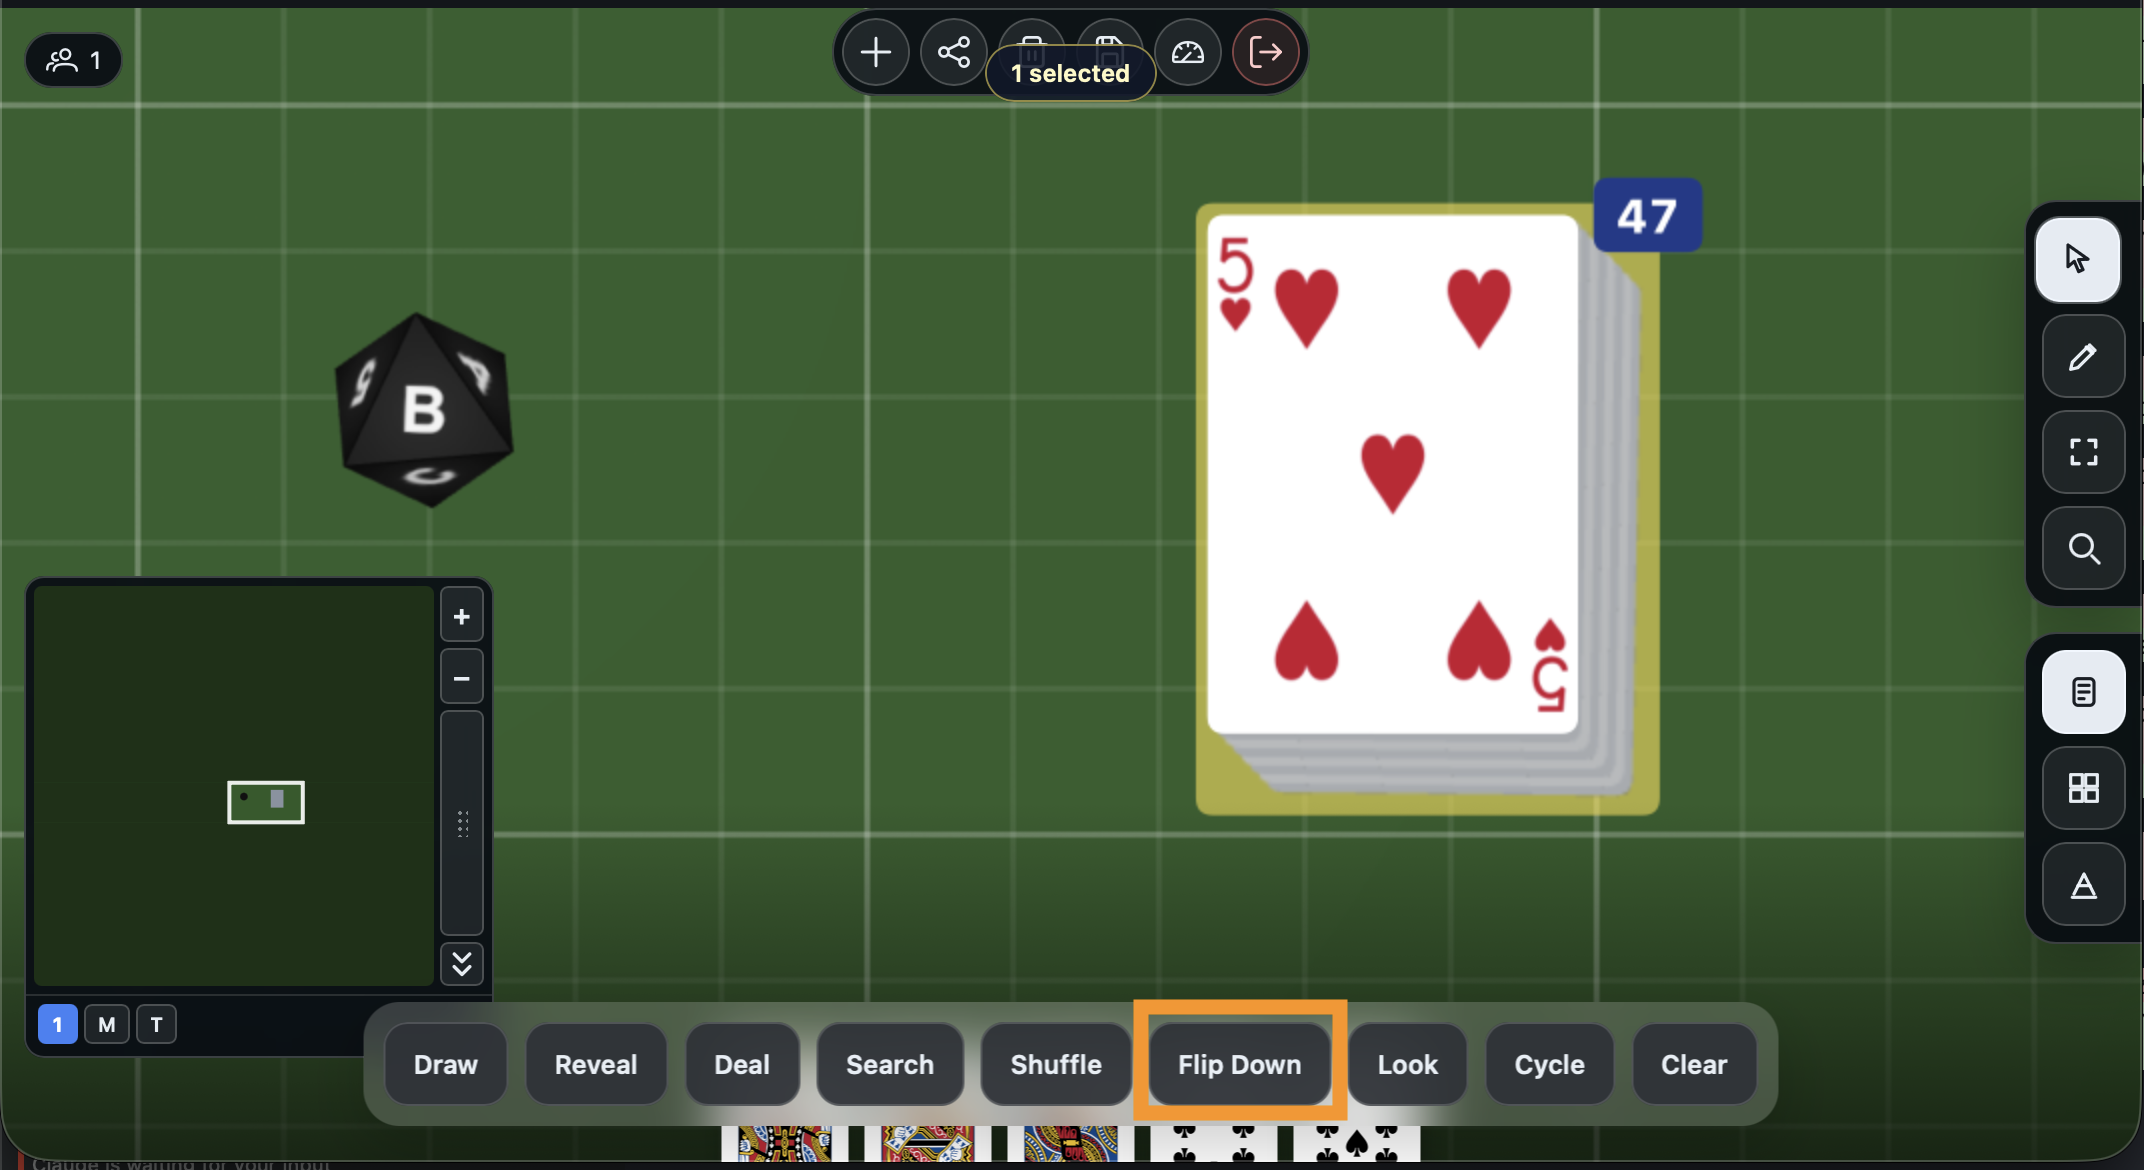
Flip the deck face up
Click Flip Up in the Actions Dock. The top card is now visible on the table. This is useful for discard piles, open market displays, or any situation where players should see the top card.
Notice the button now reads Flip Down - click it to return the deck to a hidden stack.
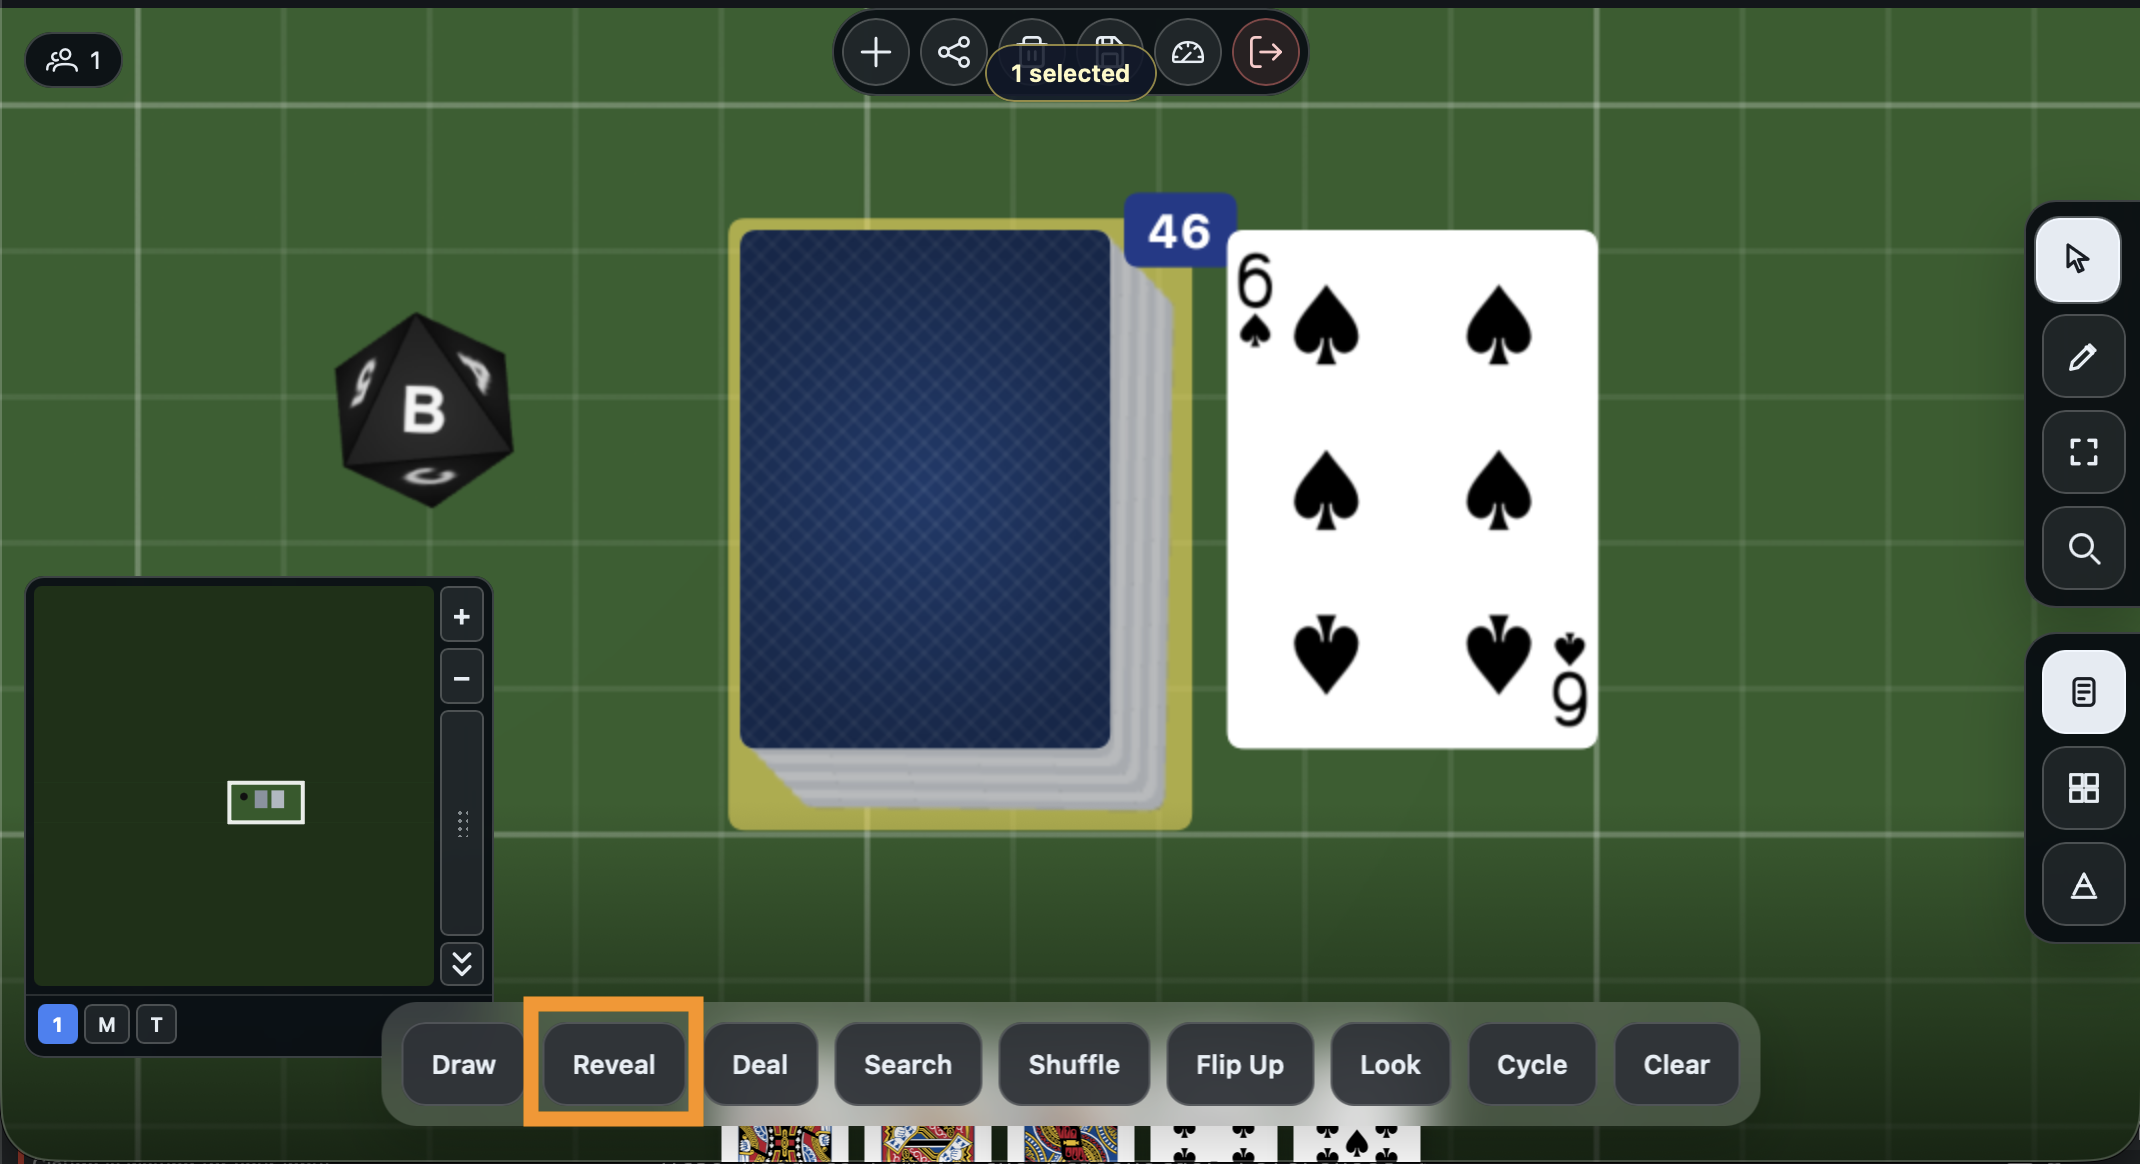
Reveal the top card
Click Reveal in the Actions Dock. The top card slides out face up next to the deck so everyone at the table can see it, but it stays part of the deck. This is handy for revealing event cards or showing what is coming next.
Deal cards to players
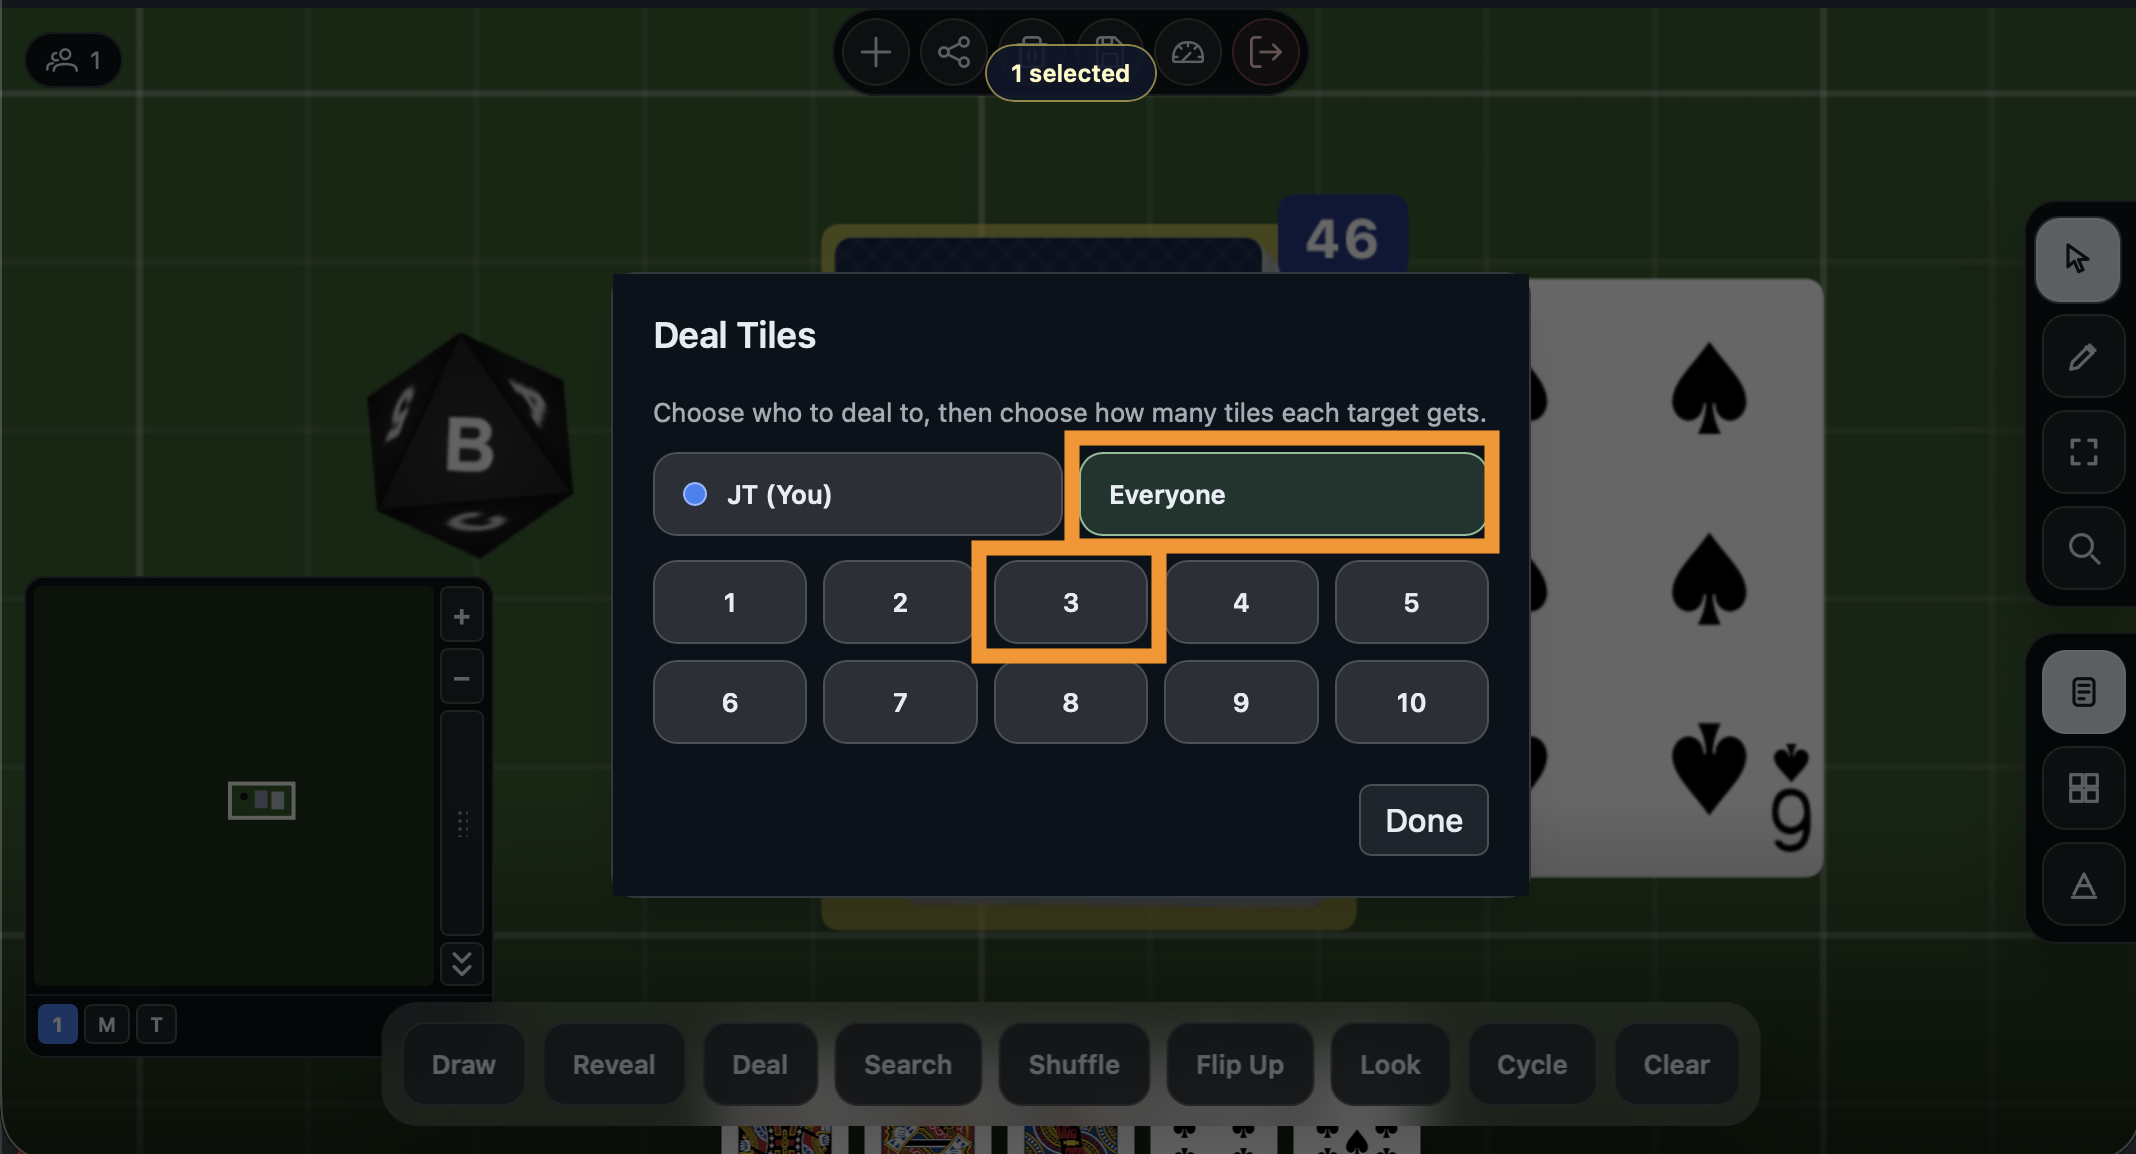
Click Deal in the Actions Dock.
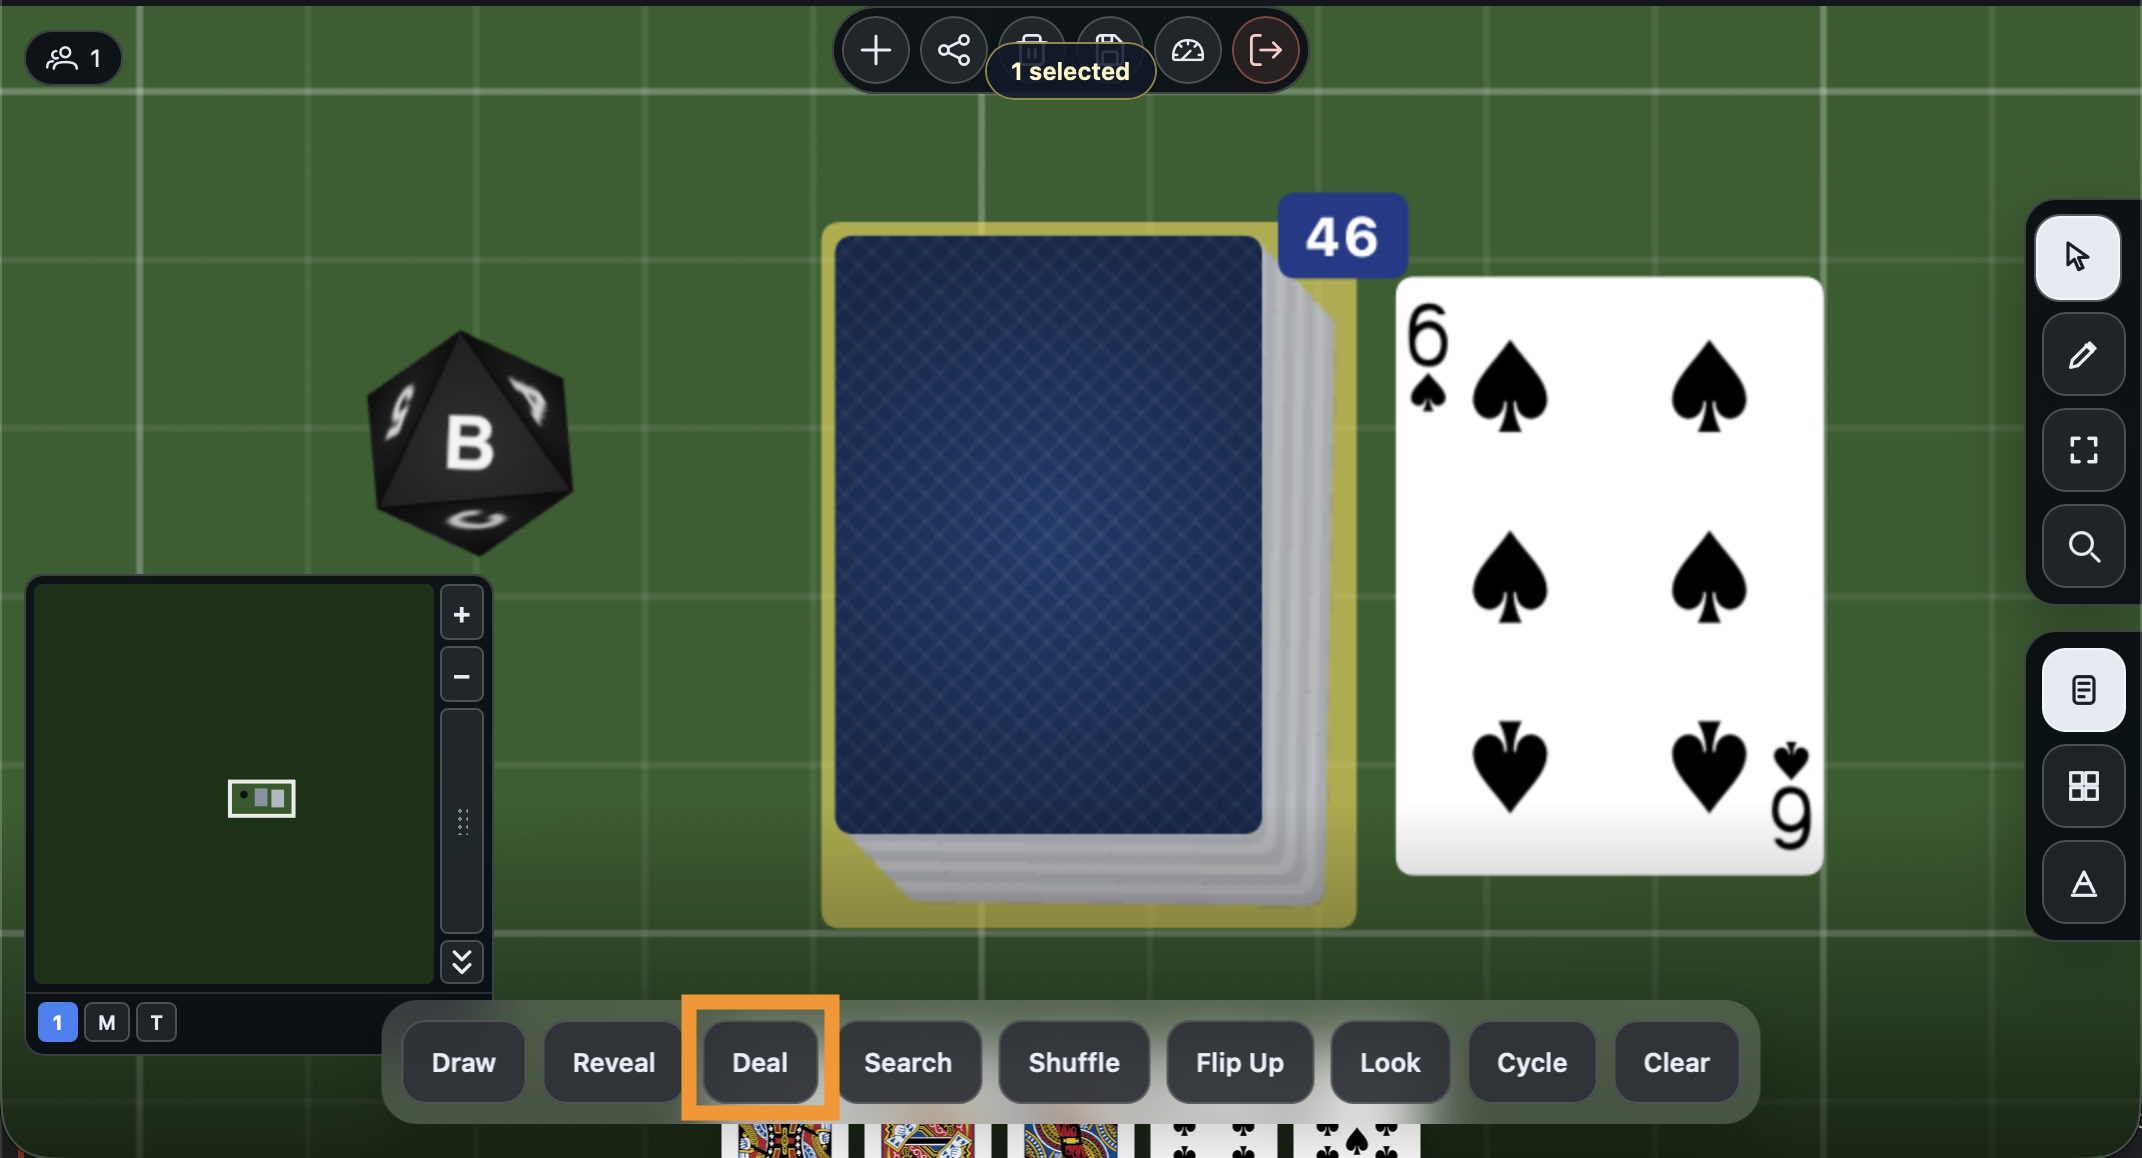
A panel opens where you choose who to deal to and how many cards each player gets. Select Everyone and pick a number. Since you are the only player in this session, you will get all the cards - but in a multiplayer game, each seated player would receive their share.
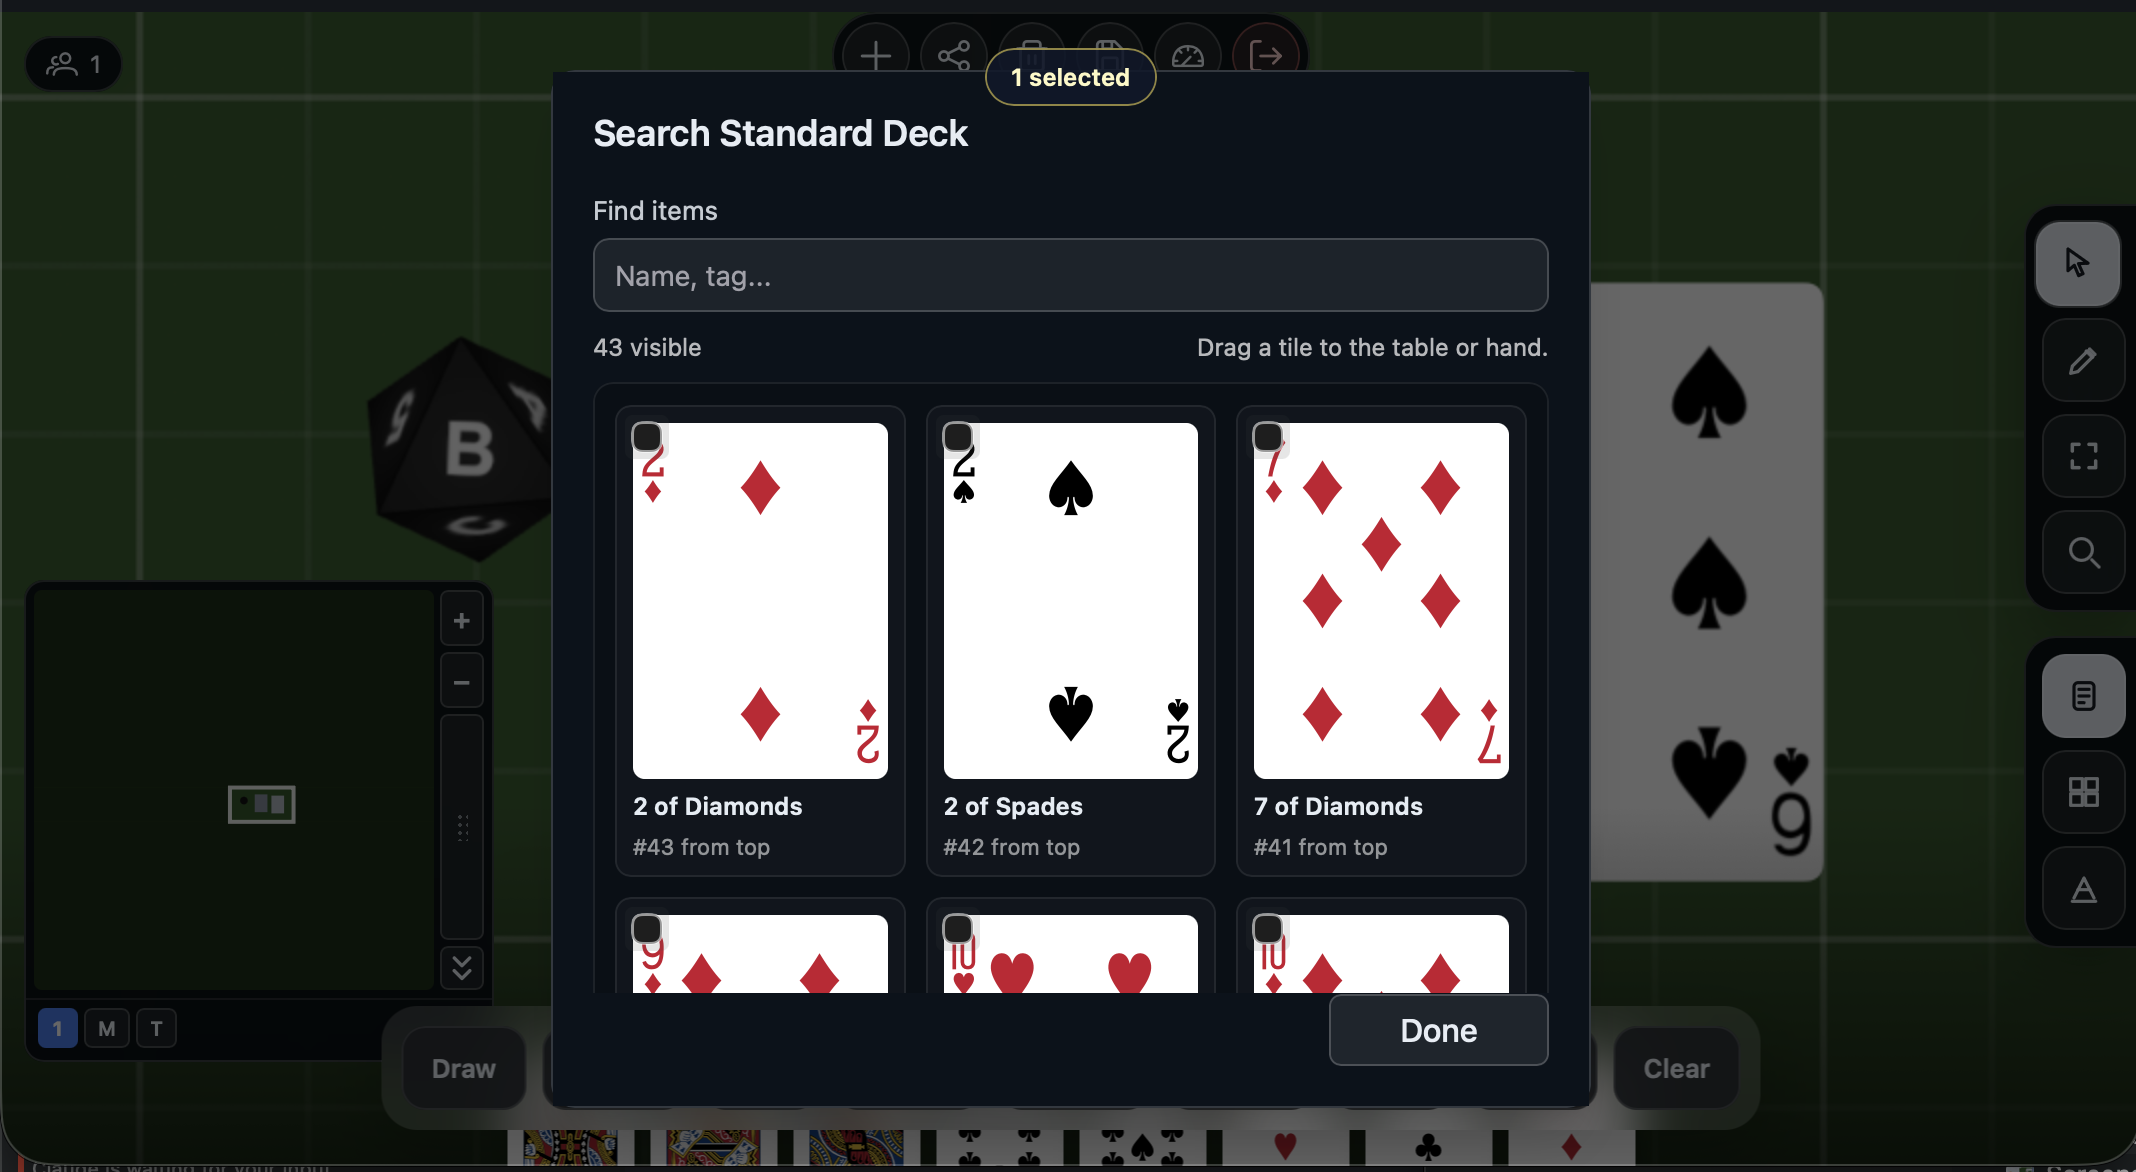
Search through the deck
Click Search in the Actions Dock. This opens a scrollable view of every card in the deck. You can find specific cards by name and drag them out to the table or your hand - useful for setup scenarios where certain cards need to start in specific places.
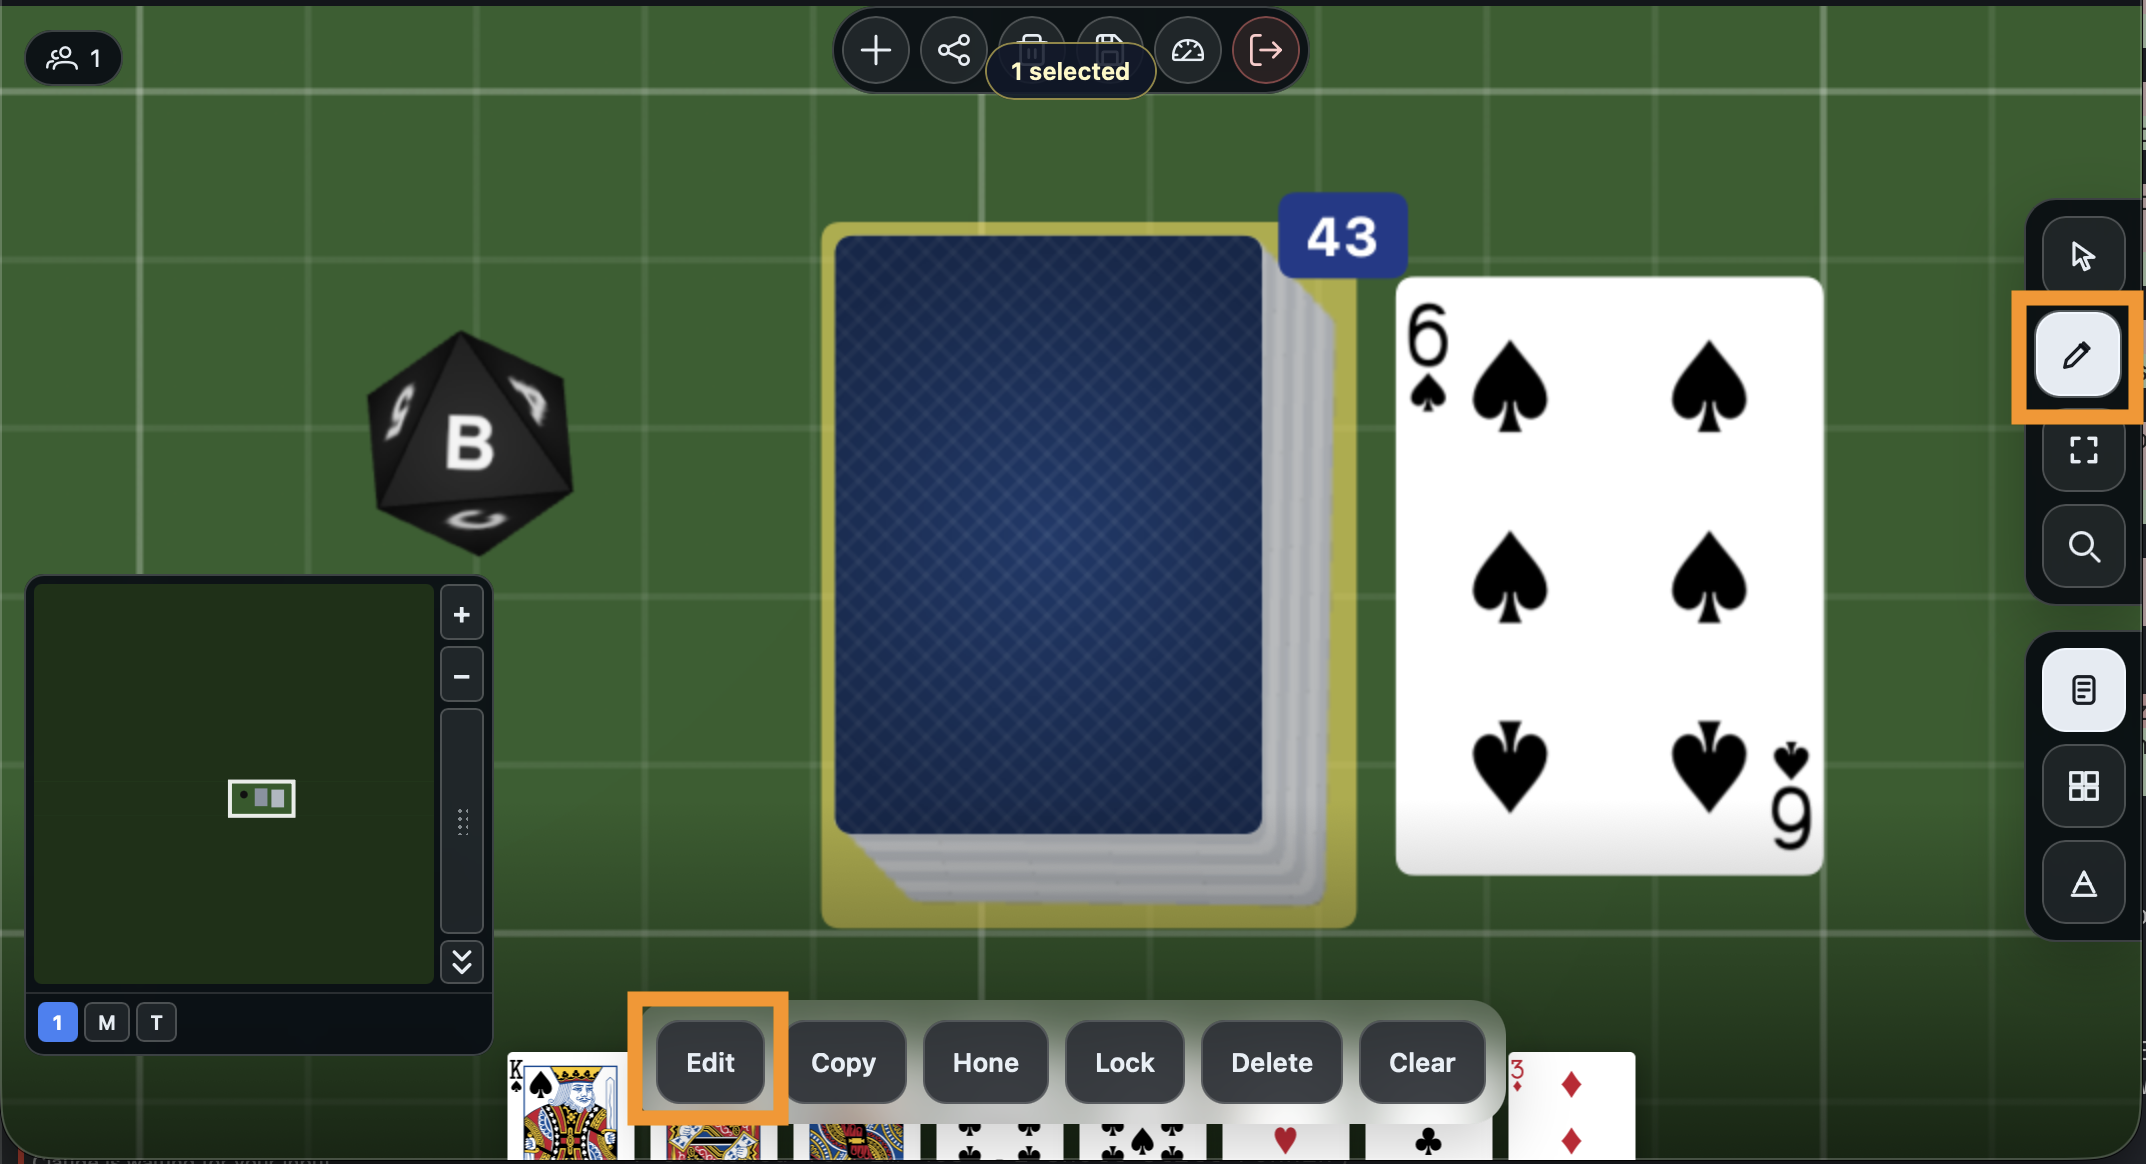
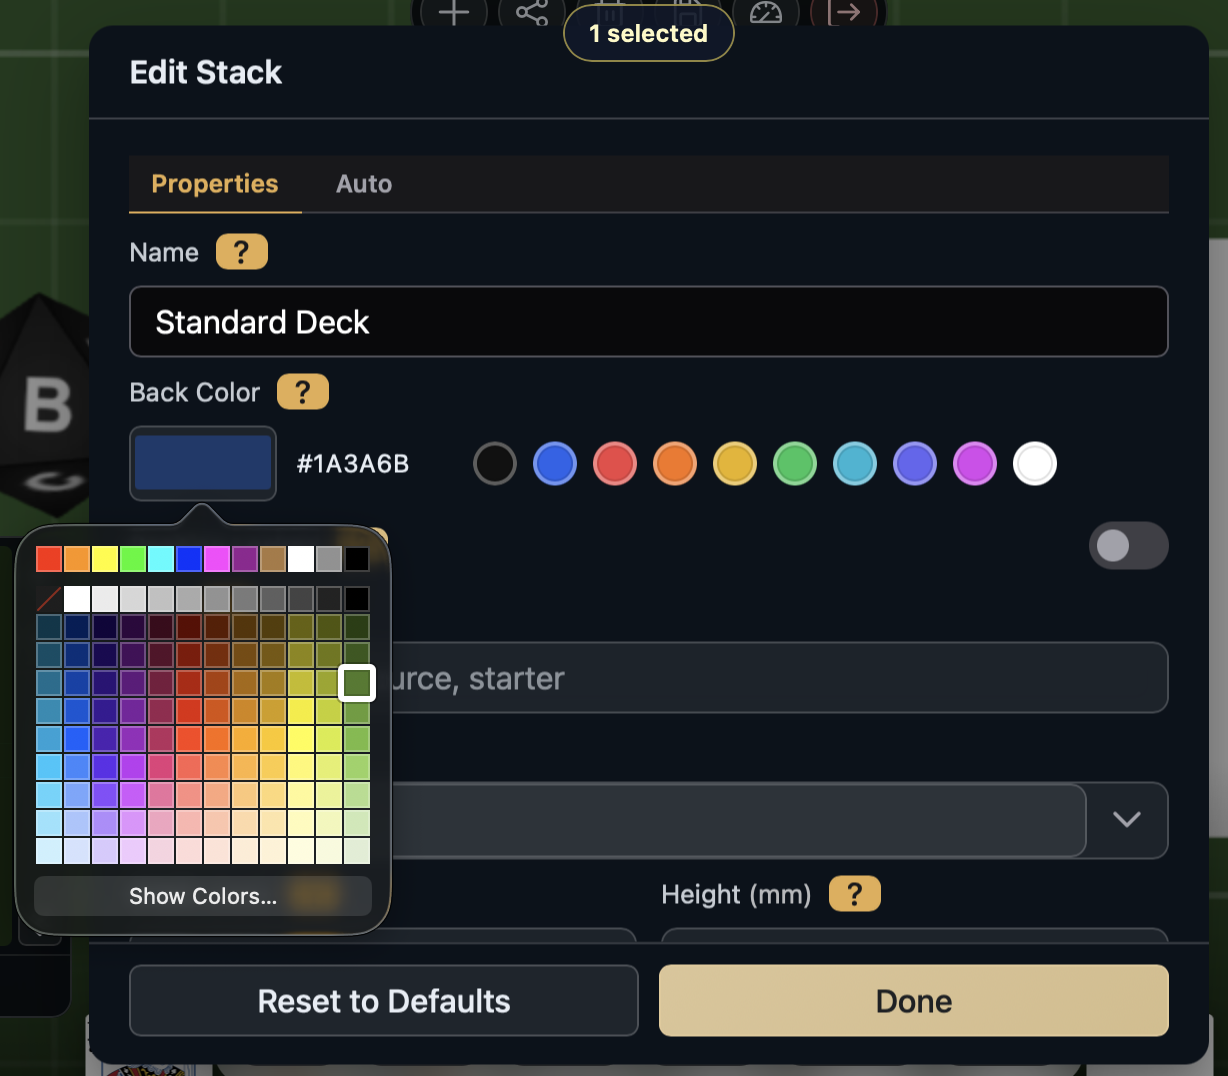
Change the deck's back color
Switch to the Edit tool in the right-side toolbar (the pencil icon). Click the deck, then click Edit in the Actions Dock.
The stack settings panel opens. Under the Properties tab, click the Back Color swatch to open the color picker. Choose any color - every card in the deck updates to match.
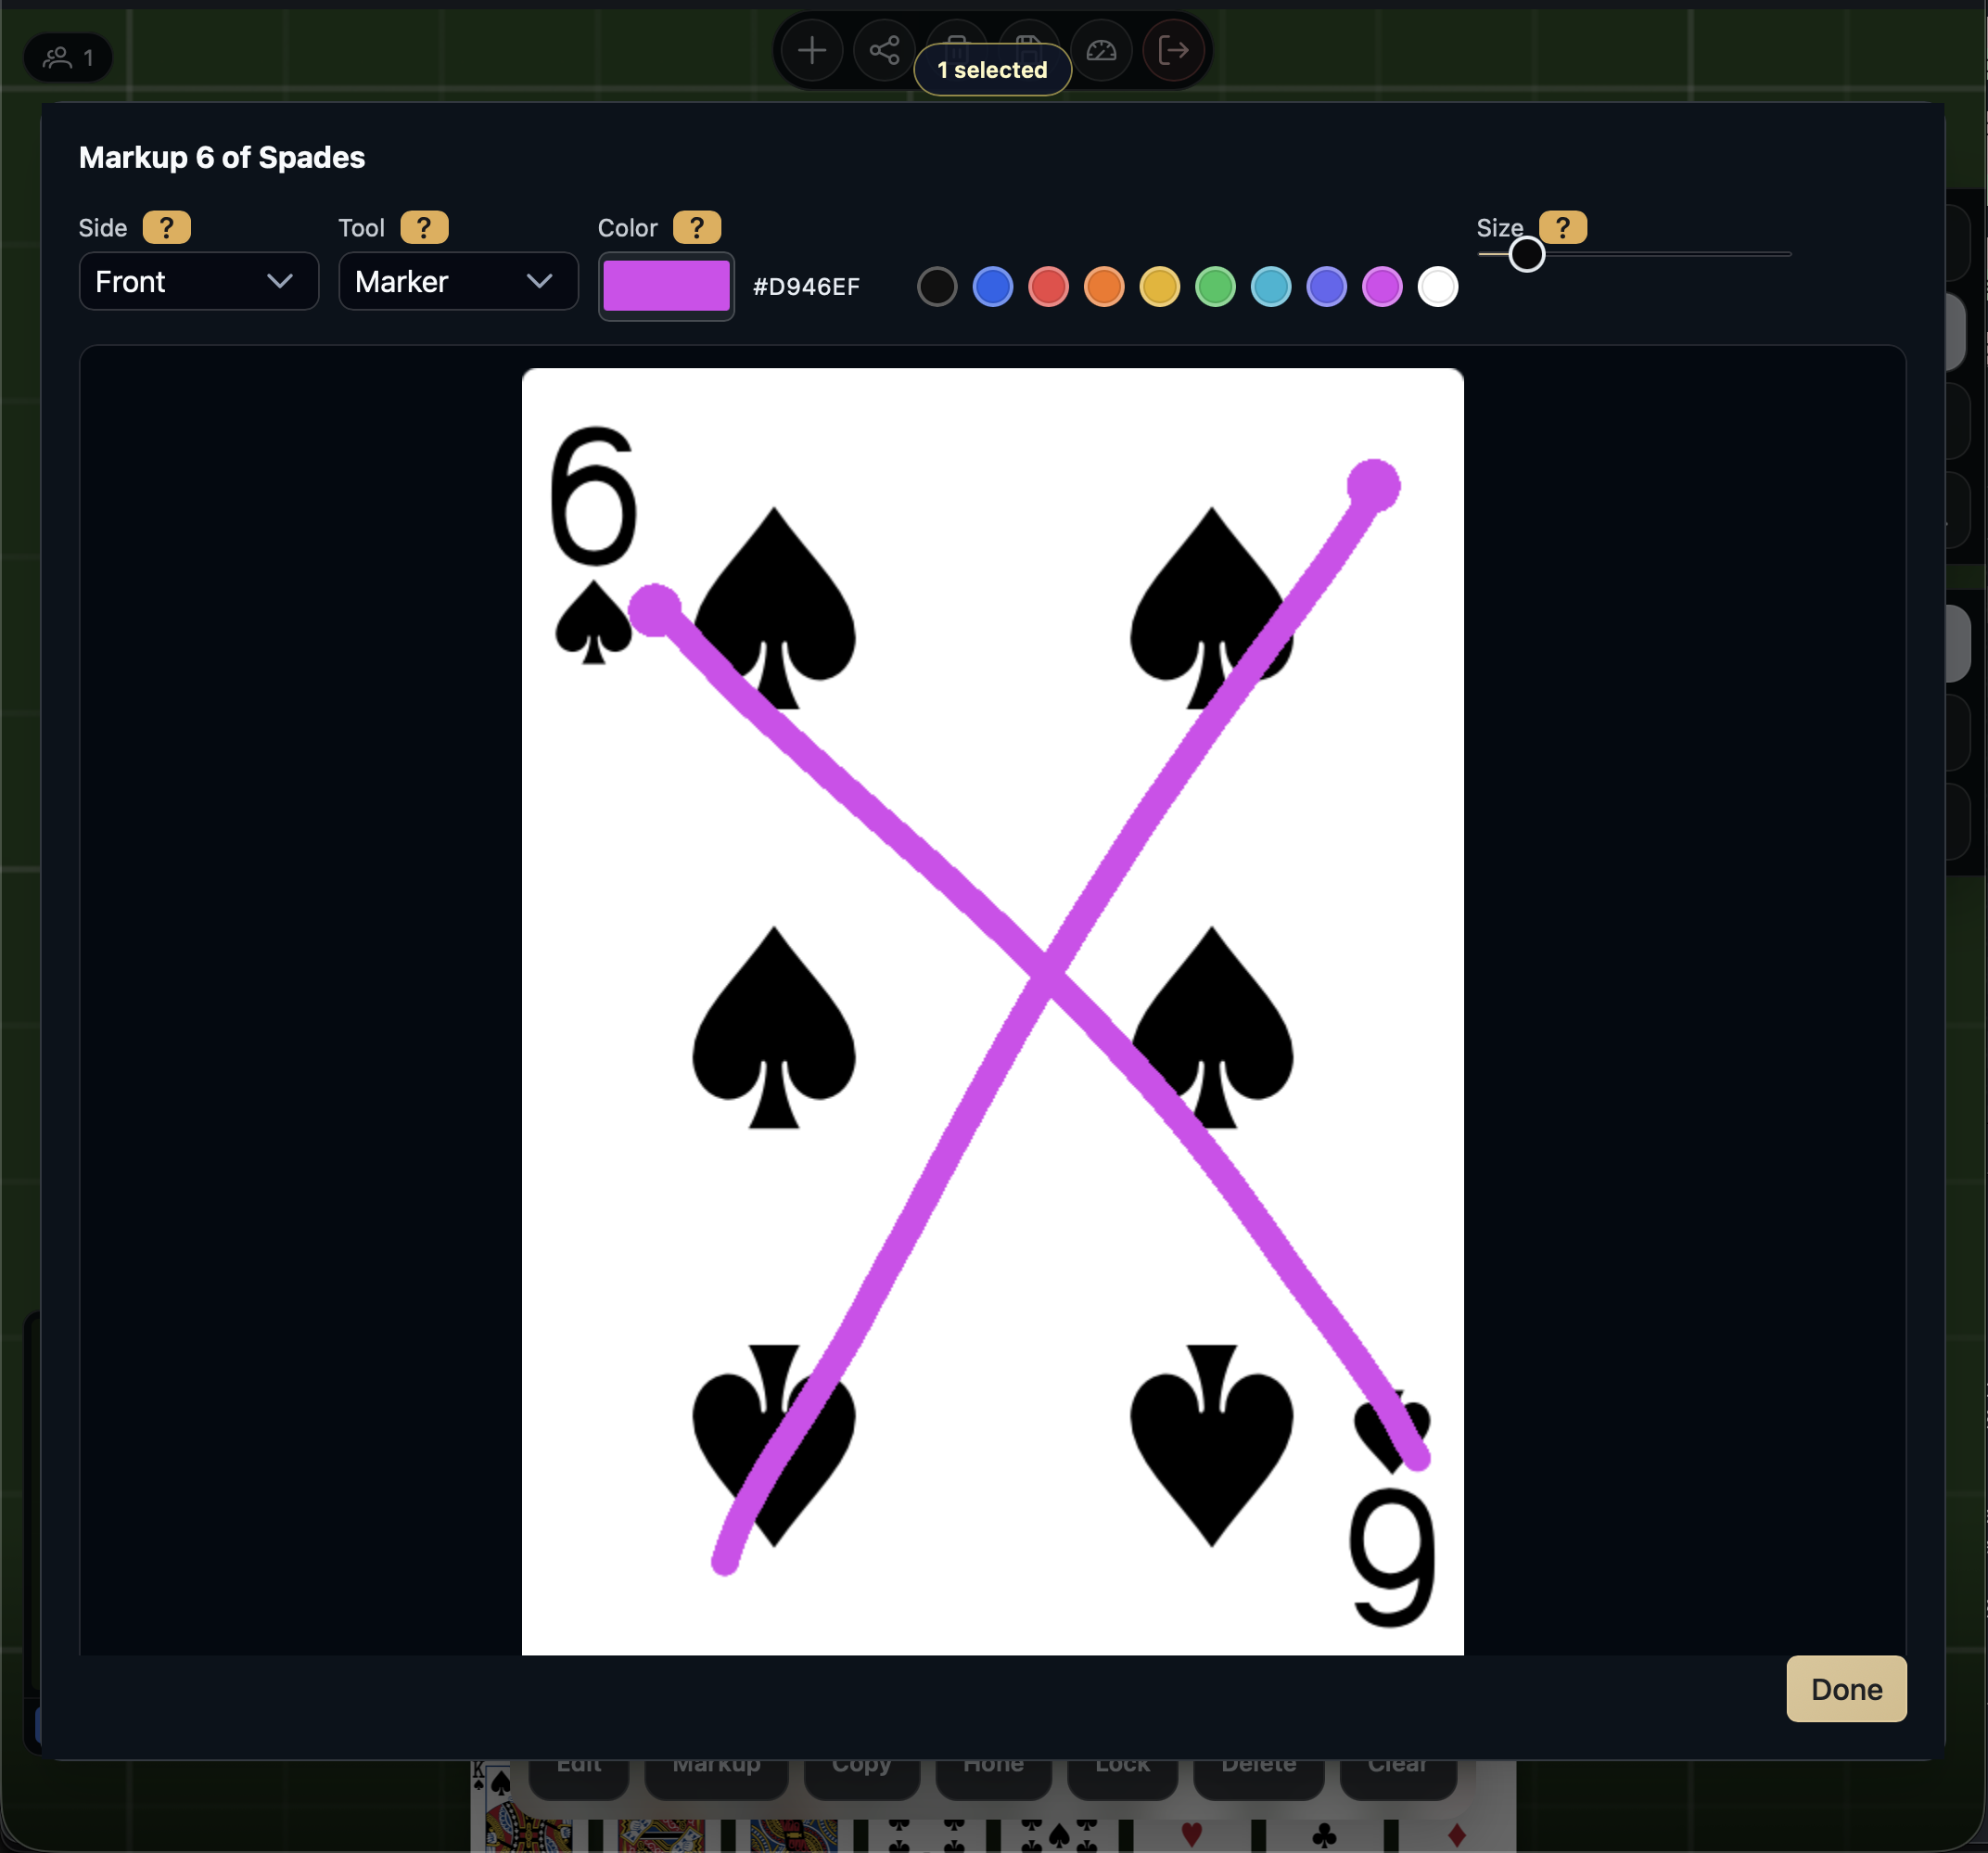
Mark up a card
Still in the Edit tool, click a face-up card on the table (or the revealed card next to the deck), then click Markup in the Actions Dock.
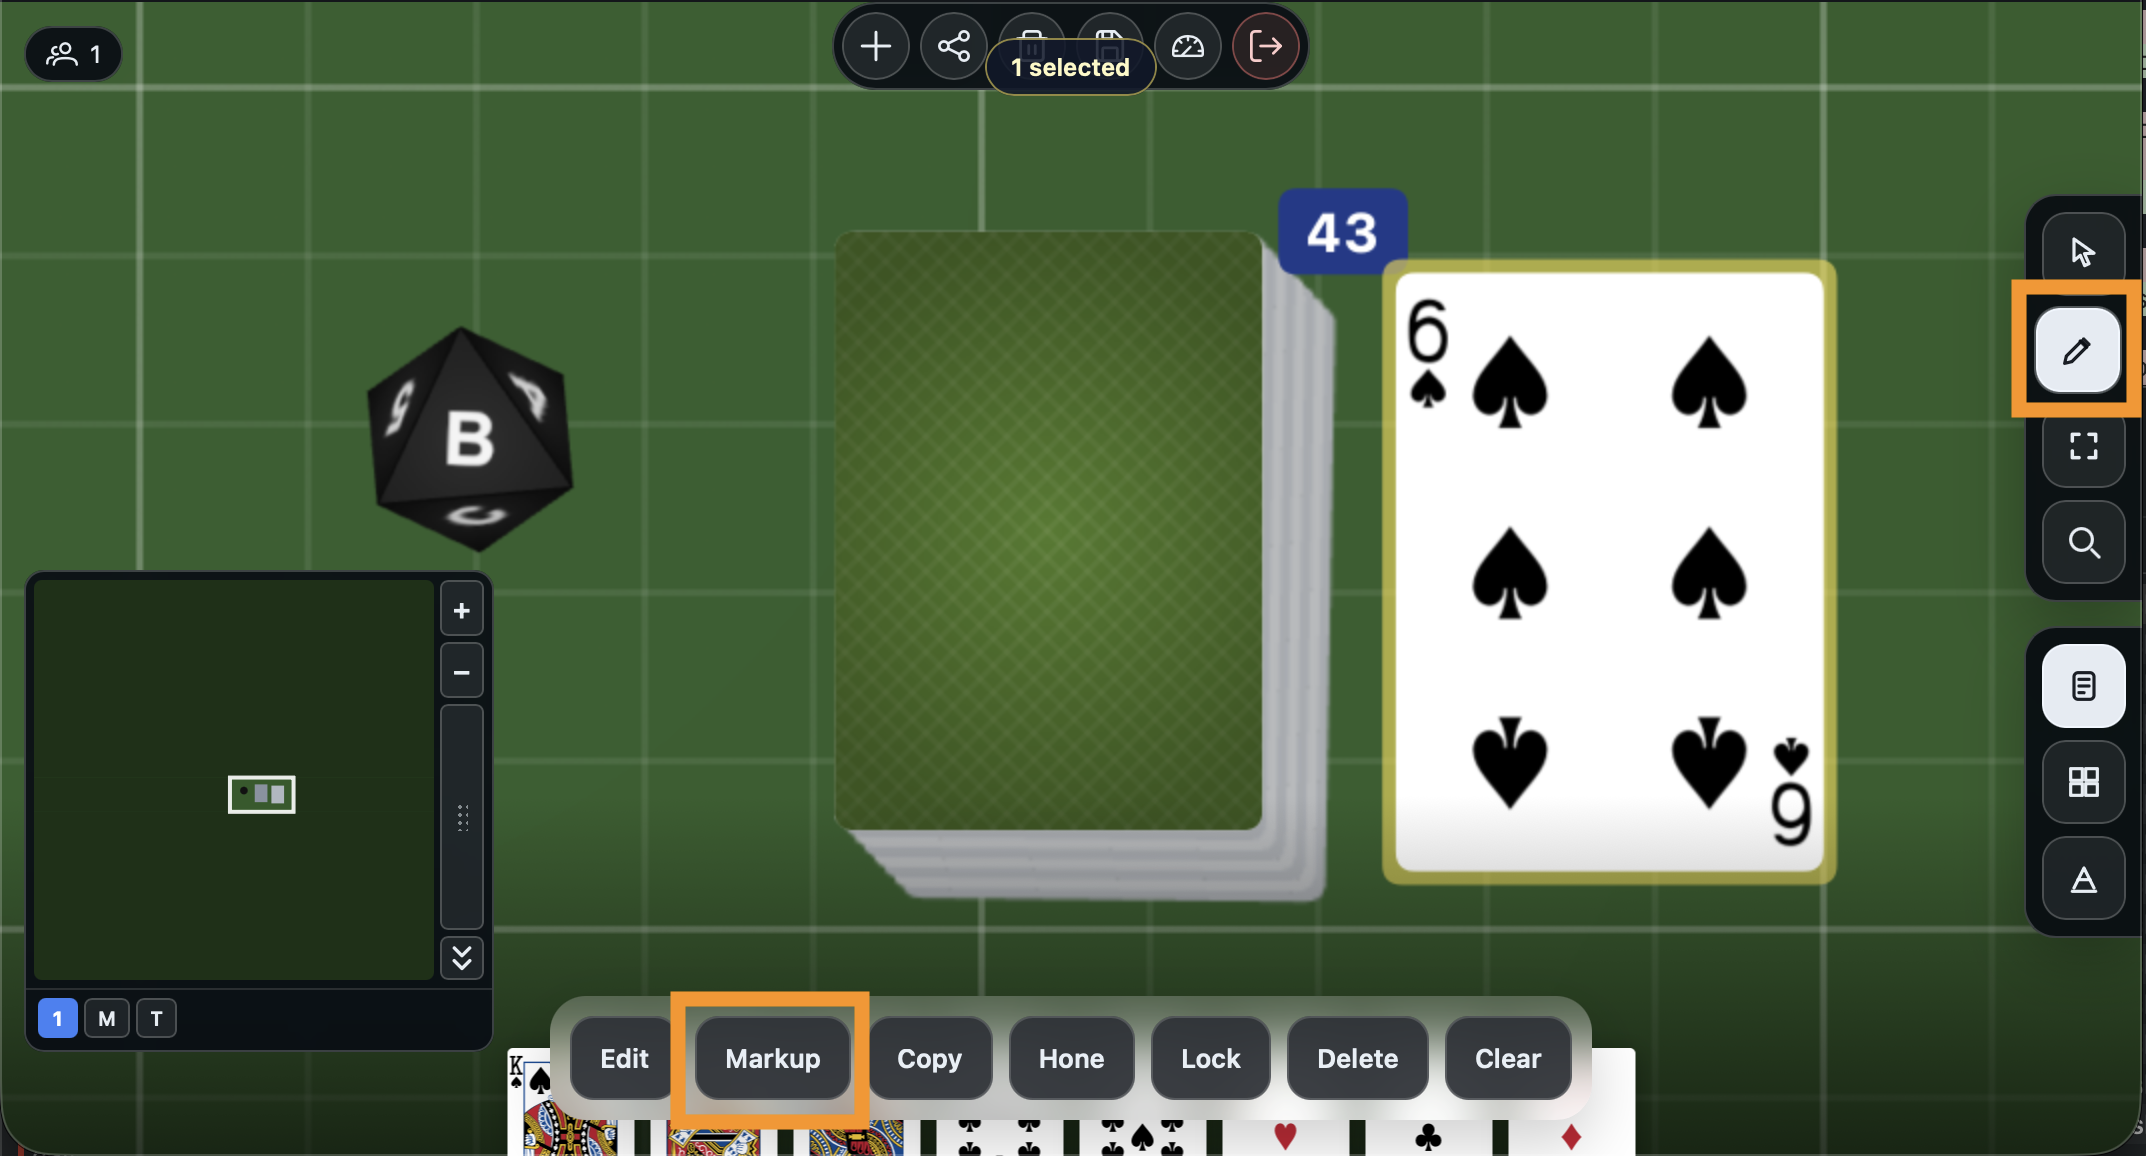
The markup editor opens, showing the card face at full size. Use the Marker tool to draw directly on the card - pick a color, adjust the brush size, and draw. This is useful for crossing out cards, circling important details, or adding notes during a playtest. Click Done when finished.
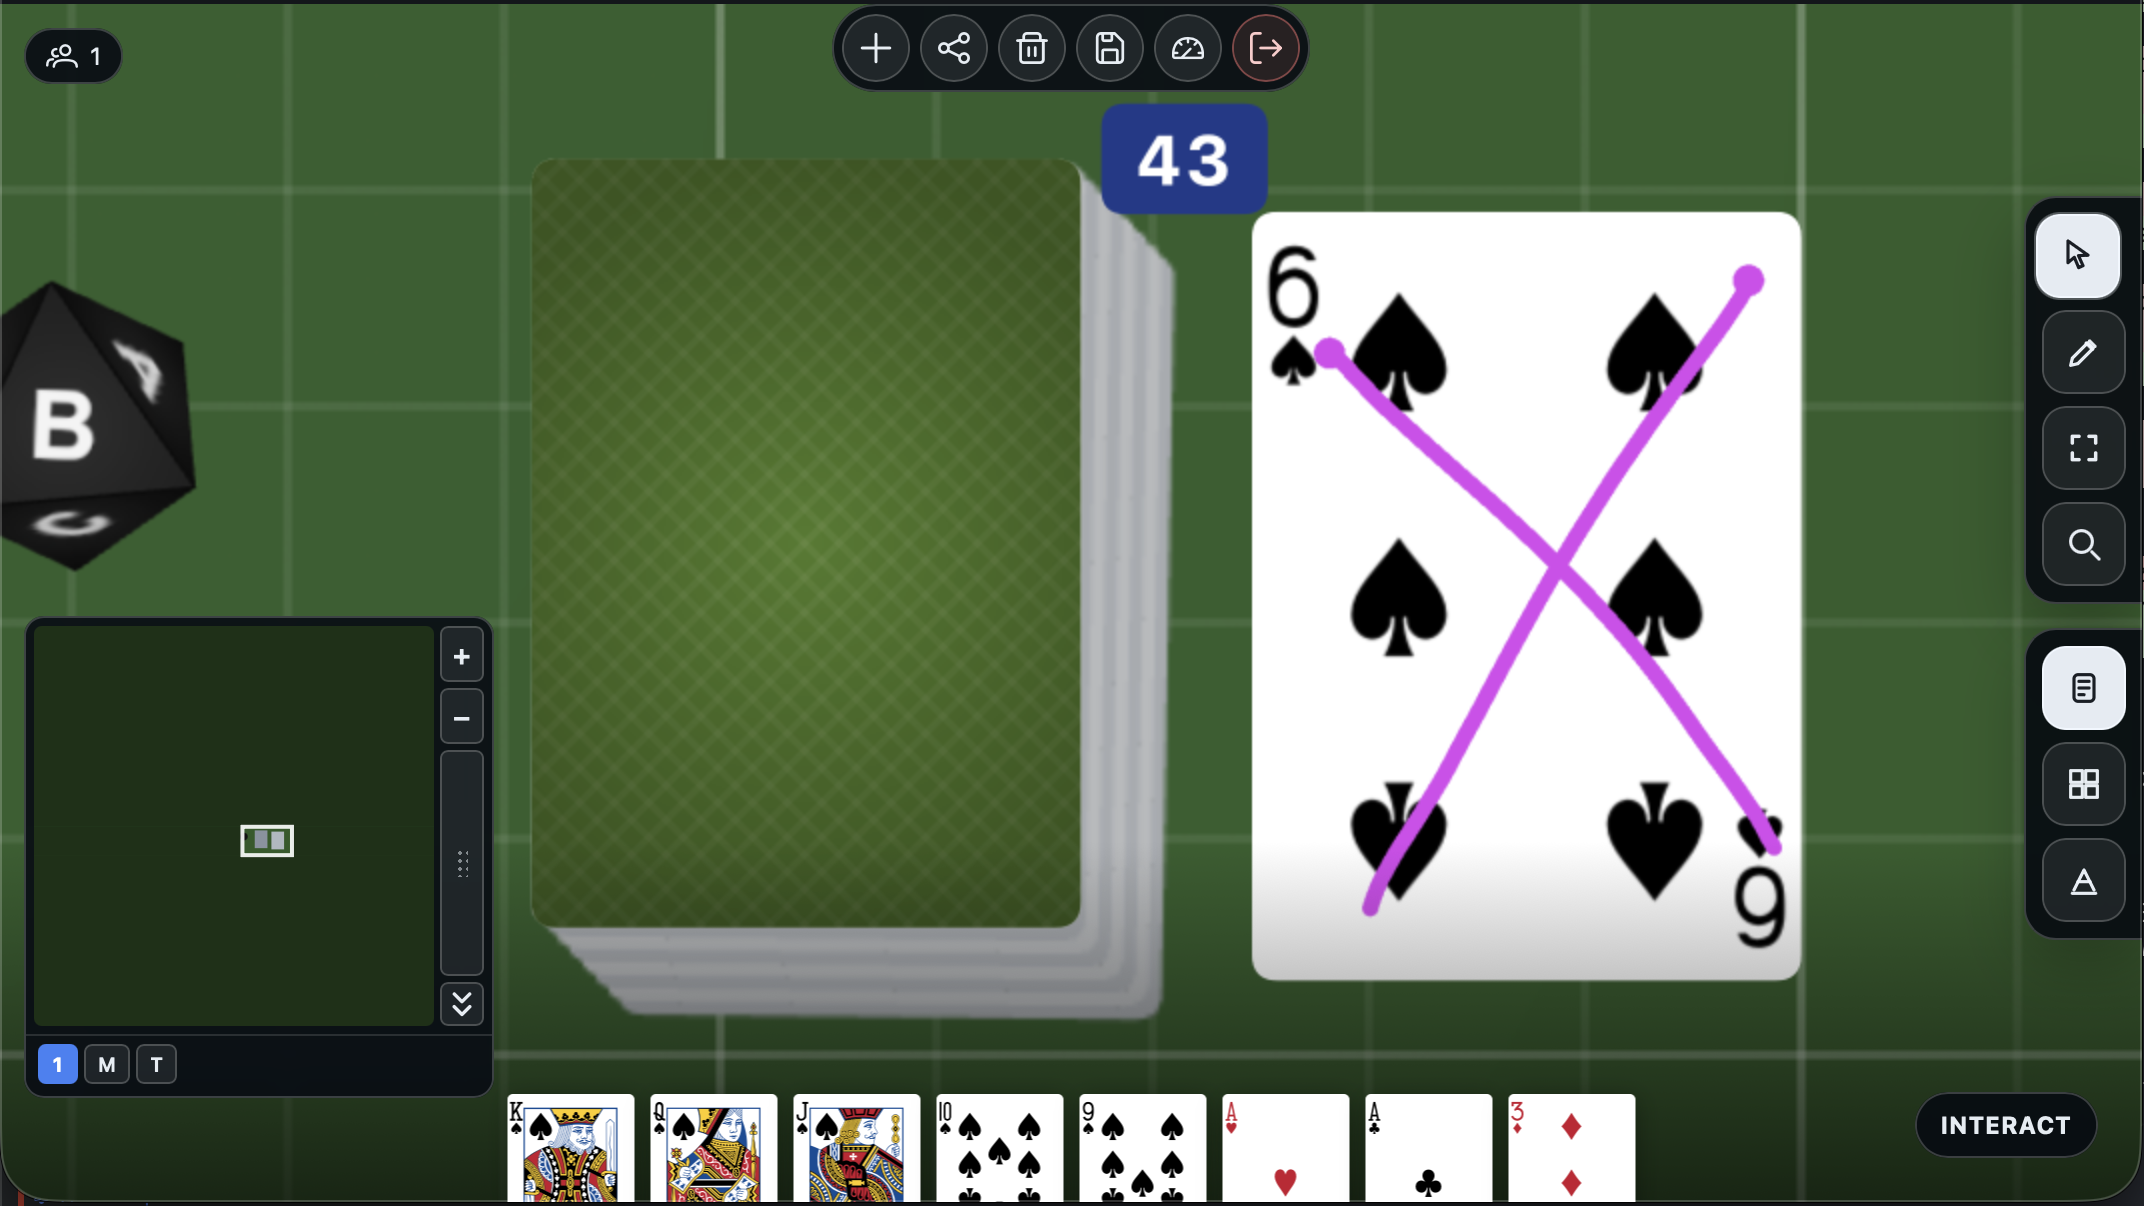
Your markup is now visible on the card wherever it appears - on the table, in search results, and in hand.
What you built
You now know how to add decks, draw and manage cards, shuffle, deal, search, edit deck appearance, and mark up individual cards. These interactions work the same way for any deck - standard cards or custom decks with your own artwork.
Next: Use Your Own Images